CoBox - Building blocks for a co-operative cloud
Diese Dokumentation ist eine alte Legacy-Dokumentation und dient nur als Referenz! Wir nutzen CoBox selbst nicht.
CoBox is a distributed, encrypted, offline-enabled data hosting cloud platform. It's software! But each software needs to run on a hardware platform. For your own mini CoBox cloud you can create one with ease using an Olimex A20 Olinuxino Lime 2 and some hard disk. This page describes how to do this plus some basic information for installing the software. For more details about CoBox in general please see the dedicated project page of the developers at https://cobox.cloud.
Some more special links:
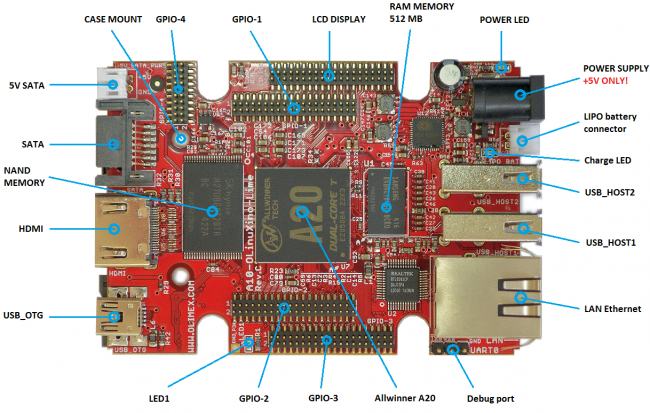
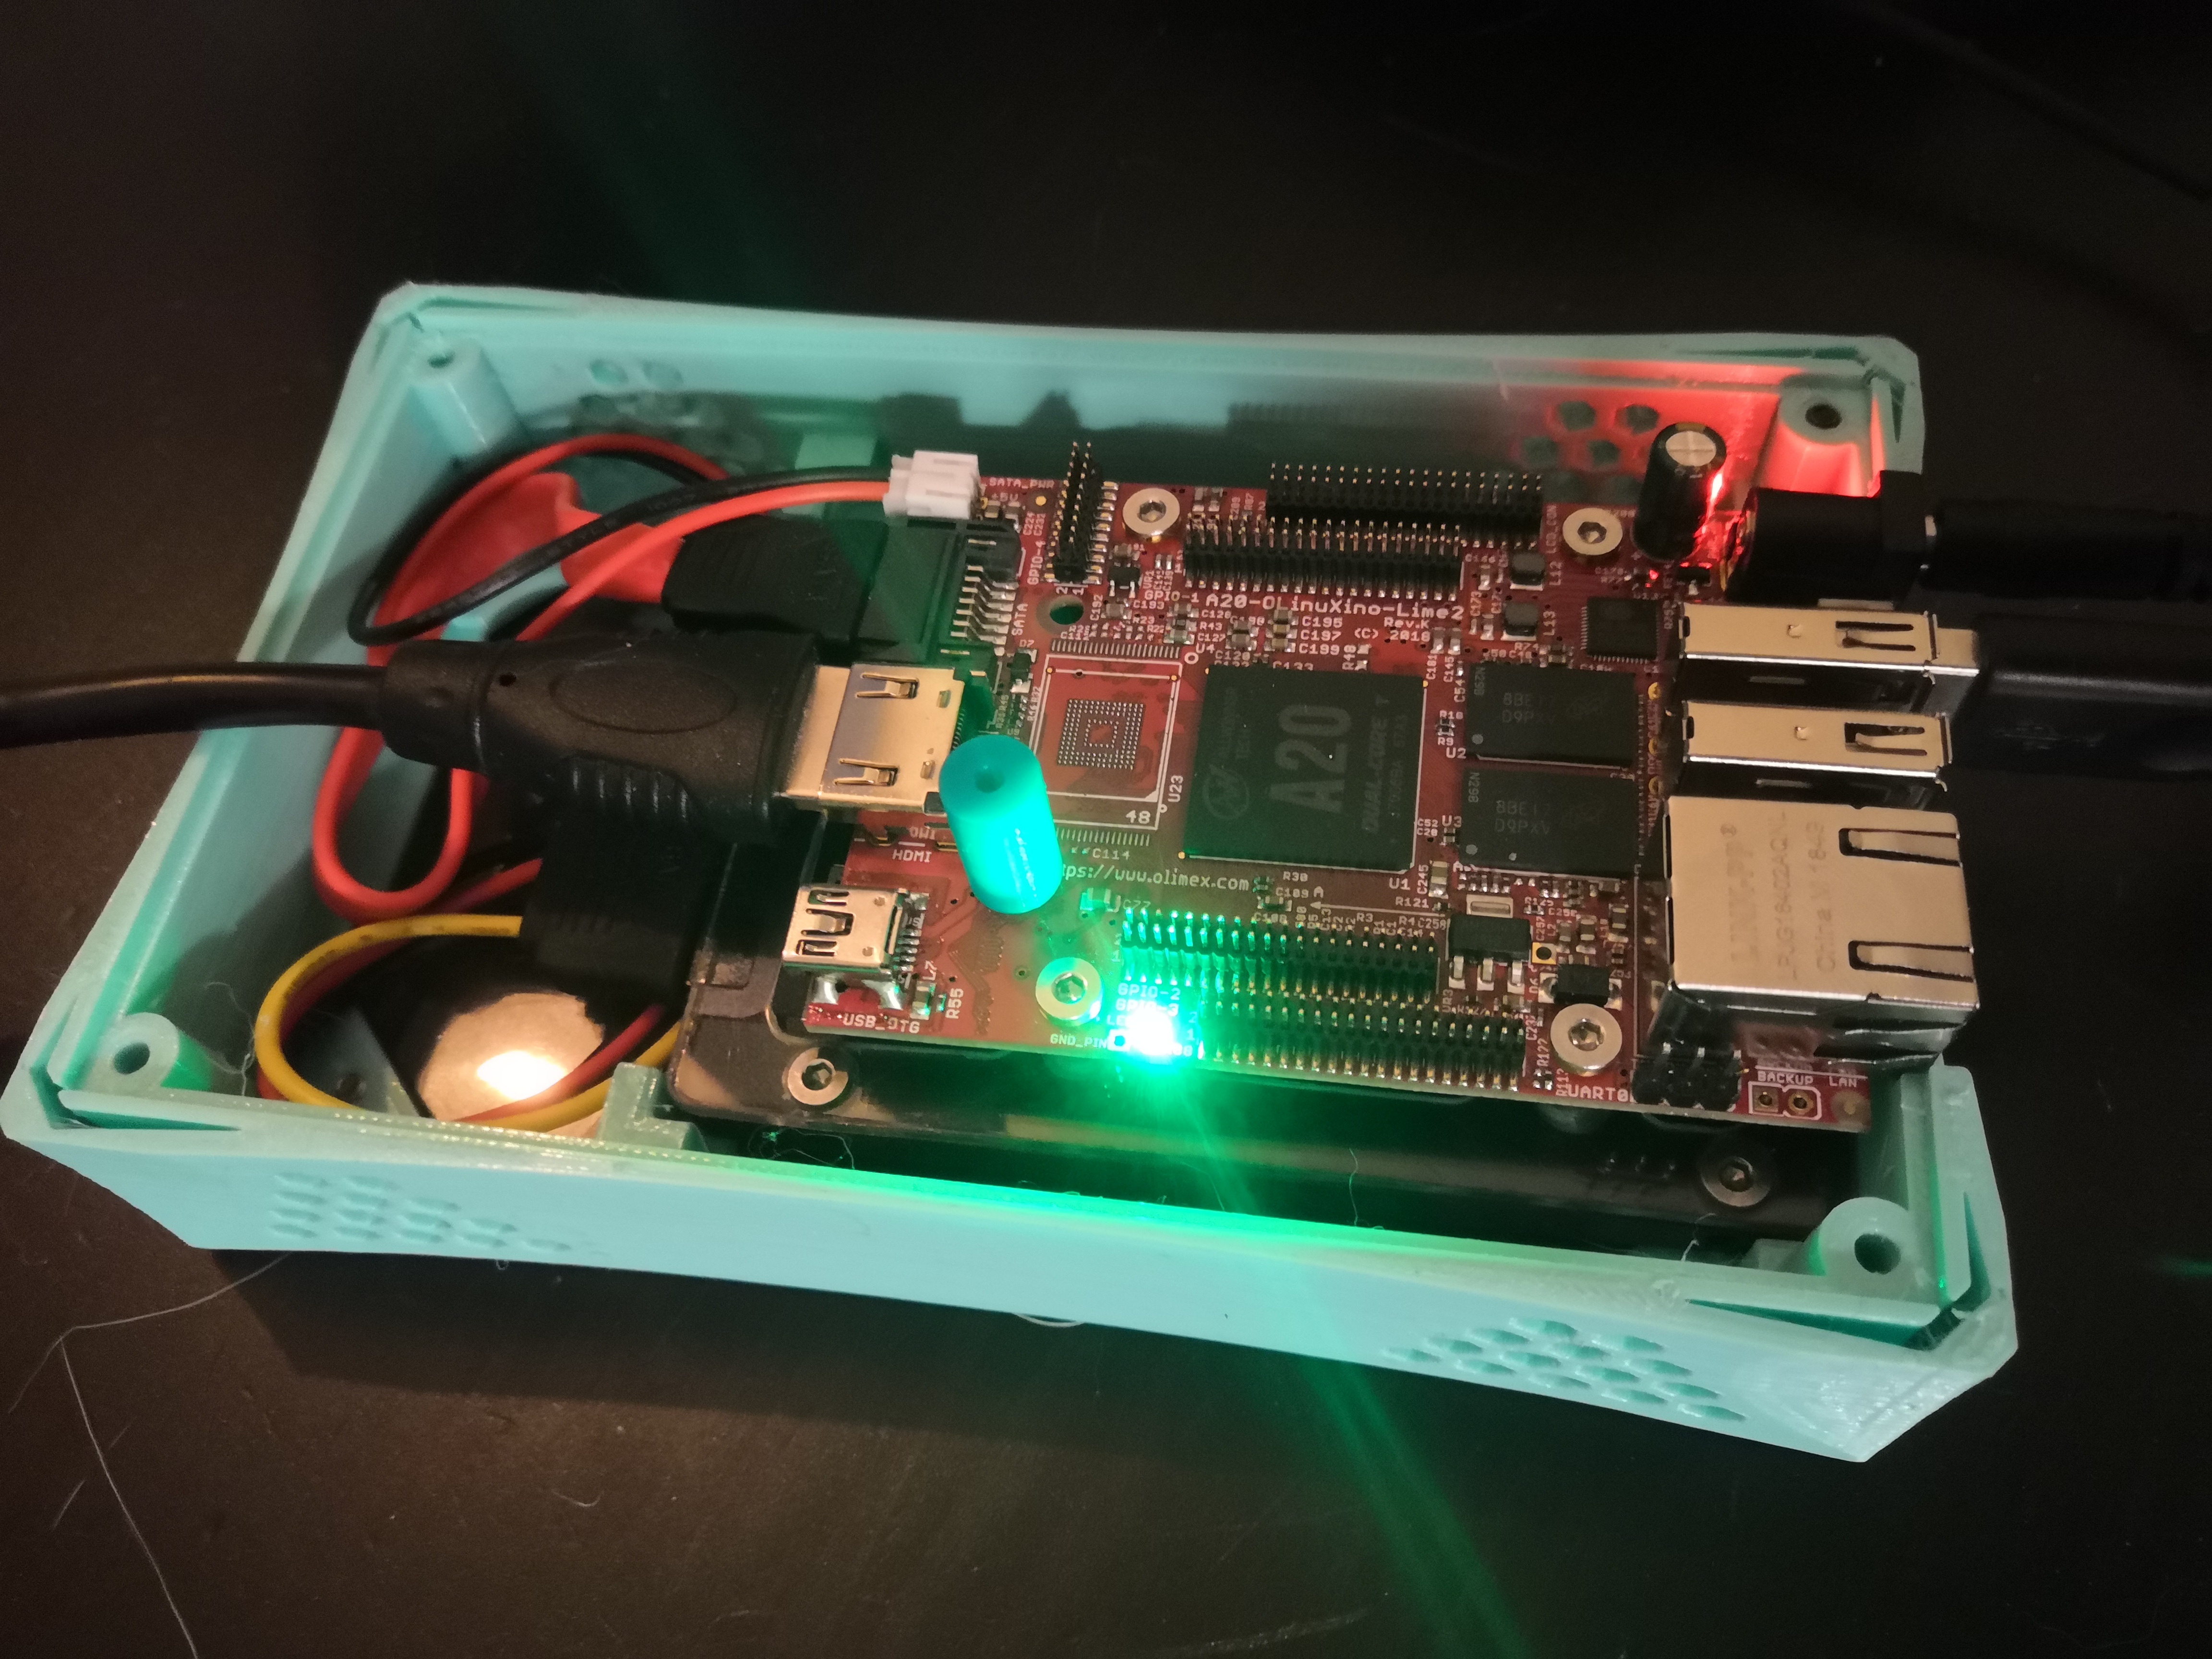
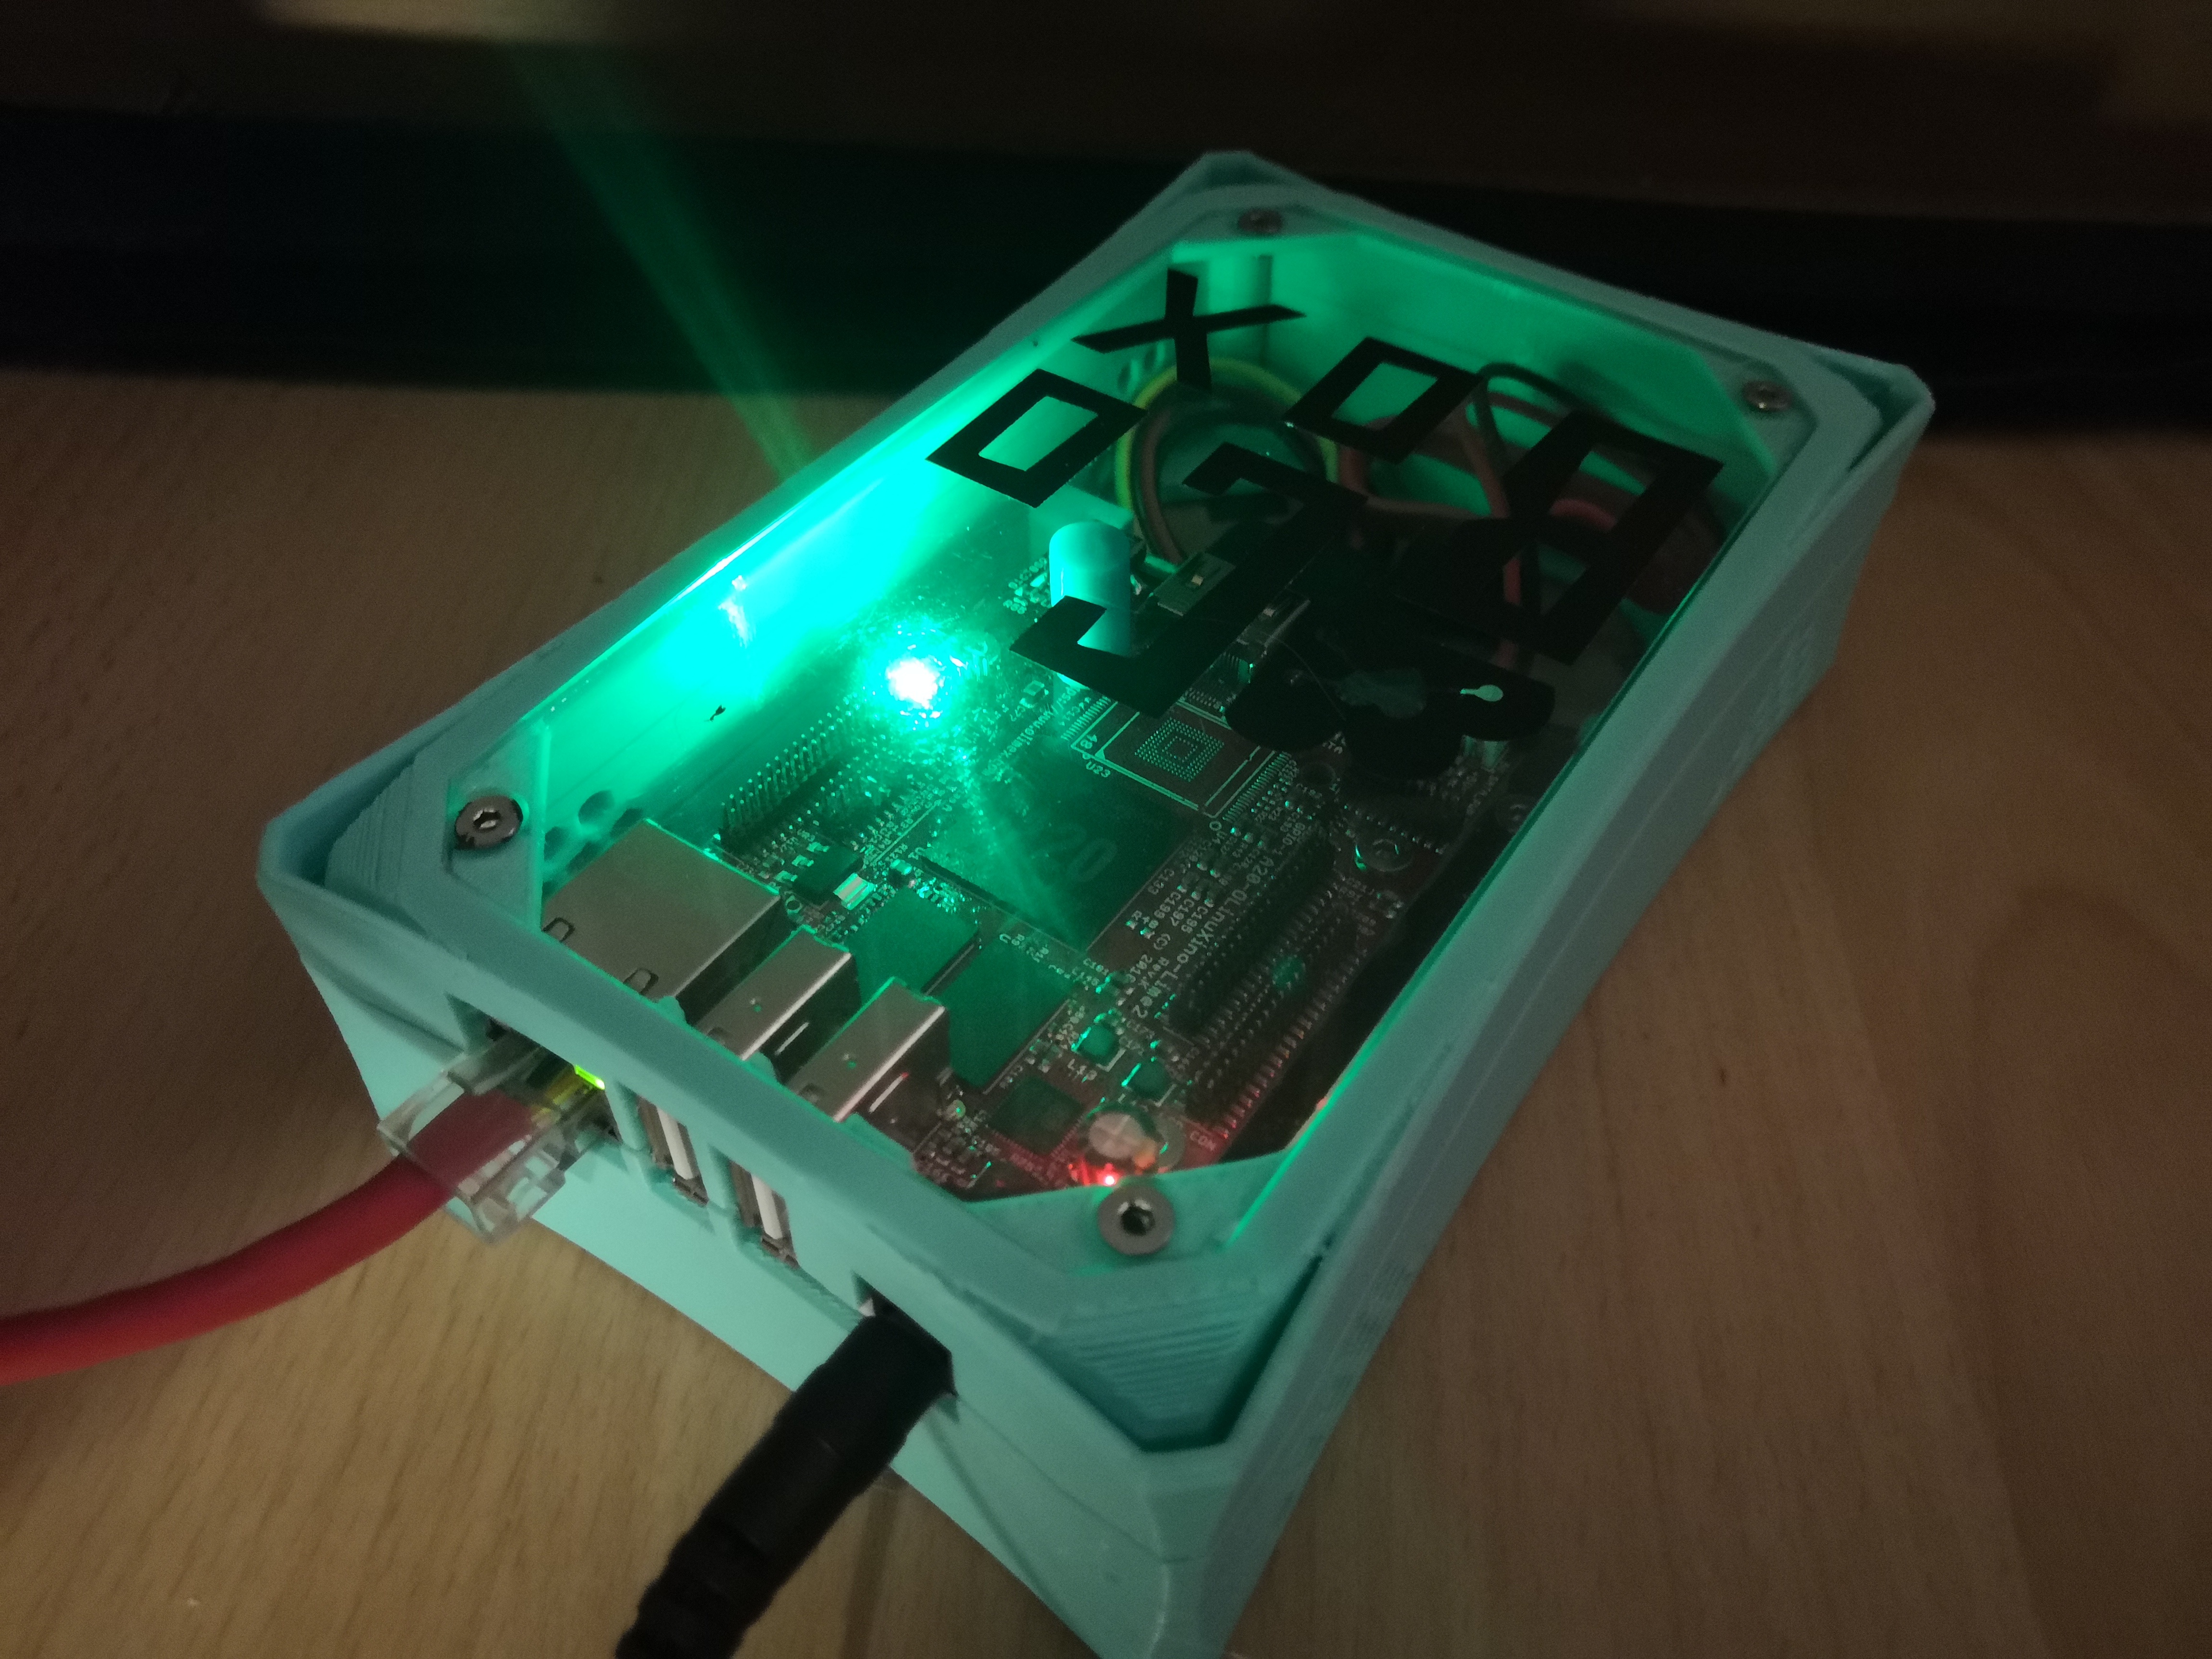
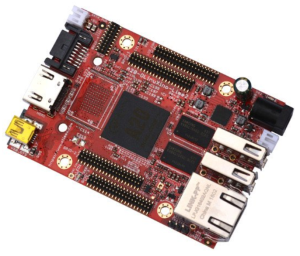
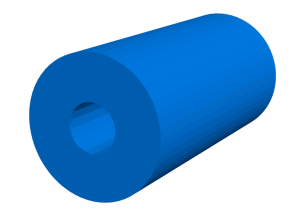
The possible heart of your own CoBox solution: Olimex A20 Olinuxino Lime 2 in a self-made housing
Front view (image from https://www.olimex.com)
Back view (image from https://www.olimex.com)
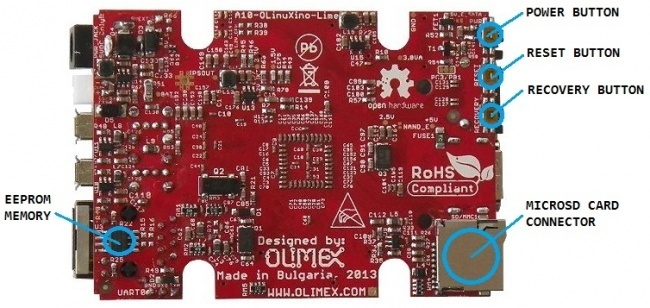
Product manual: A20-OLinuXino-LIME2-UM.pdf
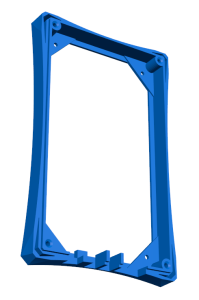
For CoBox we made a small housing which can be produced using a laser cutter and a 3d printer.
Features:
- well-shaped PETG housing, fitting for A20-OLinuXino-LIME2-UM
- total weight ~ 380g (case + hardware components inside)
- compatible to 7mm and 9mm 2.5" hard disks (just replace the threaded standoffs)
CoBox cloud server with Olimex - Overview and bill of material (BOM)
|
|
Part | Required amount | Price (net) per piece | Notes |
|
|
A20-OLinuXino-LIME2-UM | 1 x | ~ 40 € | |
|
|
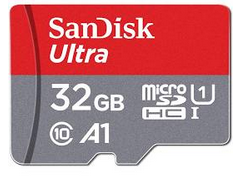
Micro SD Card |
1 x |
~ 10 € | |
|
|
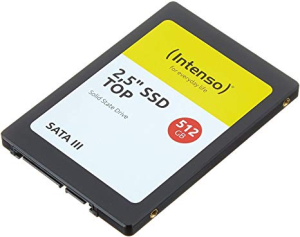
S-ATA Hard Disk |
1 x | ~ 60 € | |
|
|
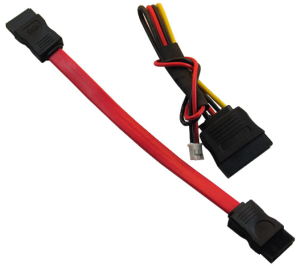
S-ATA cable set | 1 x | ~ 5 € | |
|
|
Spacer Olimex to top plate - 8x16 mm - M3 thread | 1 x |
|
|
|
|
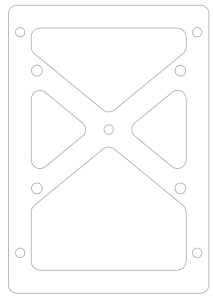
3D printed housing - top | 1 x | ||
|
|
3D printed housing - bottom | 1 x | ||
|
|
3D printed base mount | 1 x (variant A) |
joins Olimex with HDD to form one unit | |
|
|
lasercut base mount | 1 x (variant B) |
joins Olimex with HDD to form one unit | |
|
|
3-color CoBox sticker 140x80 mm (Oracal HPC 751 - black) |
1 x | ||
|
|
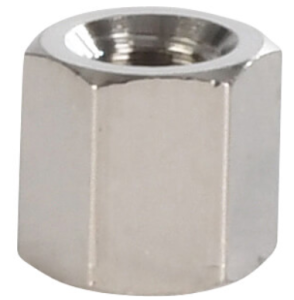
threaded standoff - M3 x 5 mm | 4 x | 0,08 € | you may use longer distance bolts if required (8 mm if thin SSD HDD used which requires to use spacer) → 5 mm bolts for regular HDD or 8 mm bolts for SSD |
|
|
Hexagon socket countersunk screw ISO 10642 M3 x 4 mm - A2 | 8 x | 0,06 € |
required for top and bottom plate → you may not use longer screws because you will hit the HDD surface otherwise
|
|
|
Hexagon socket countersunk screw ISO 10642 M3 x 6 mm - A2 | 5 x | 0,06 € |
you may nor use longer screws if required because there could happen collisions
|
|
|
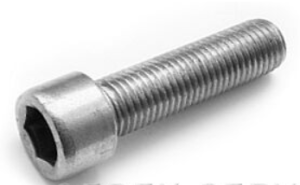
Hexagon socket screw ISO 4762 M3 x 16 mm - A2 | 4 x | 0,06 € | |
|
|
rubber feet Ø8 mm | 4 x | 0,02 € | max. Ø8,5 mm round or 9,5 x 9,5 mm square |


3D model previews and downloads
Downloadable files for 3d printing / laser cutting can be found at https://manyfold.stadtfabrikanten.org/models/kn5508z8npfn
Possible feature enhancements
- self-printed bolt spacer could be replaced by a distance bolt M3x16 mm
Production steps
- print parts (base, top, cylinder)
- lasercut parts (with protection foil) → top and back plate, base plate
- make thread into cylinder
- smooth edges at printed parts (using cutter knife or sanding paper)
- remove support material on printed parts
- create coutersunk shapes in lasercut parts
- remove protections foils
- screw together printed top base with lasercut plate sing 4x M3x4 screws
- create sticker with Plotter
- put sticker on top plate (must be screwed together before!) → sticker will hide screw heads
- add missing parts: screws, bolts, rubber feet
CoBox Cloud Software
After assembling the hardware we can go ahead to begin with software installation
CoBox Setup on Linux (Armbian Focal)
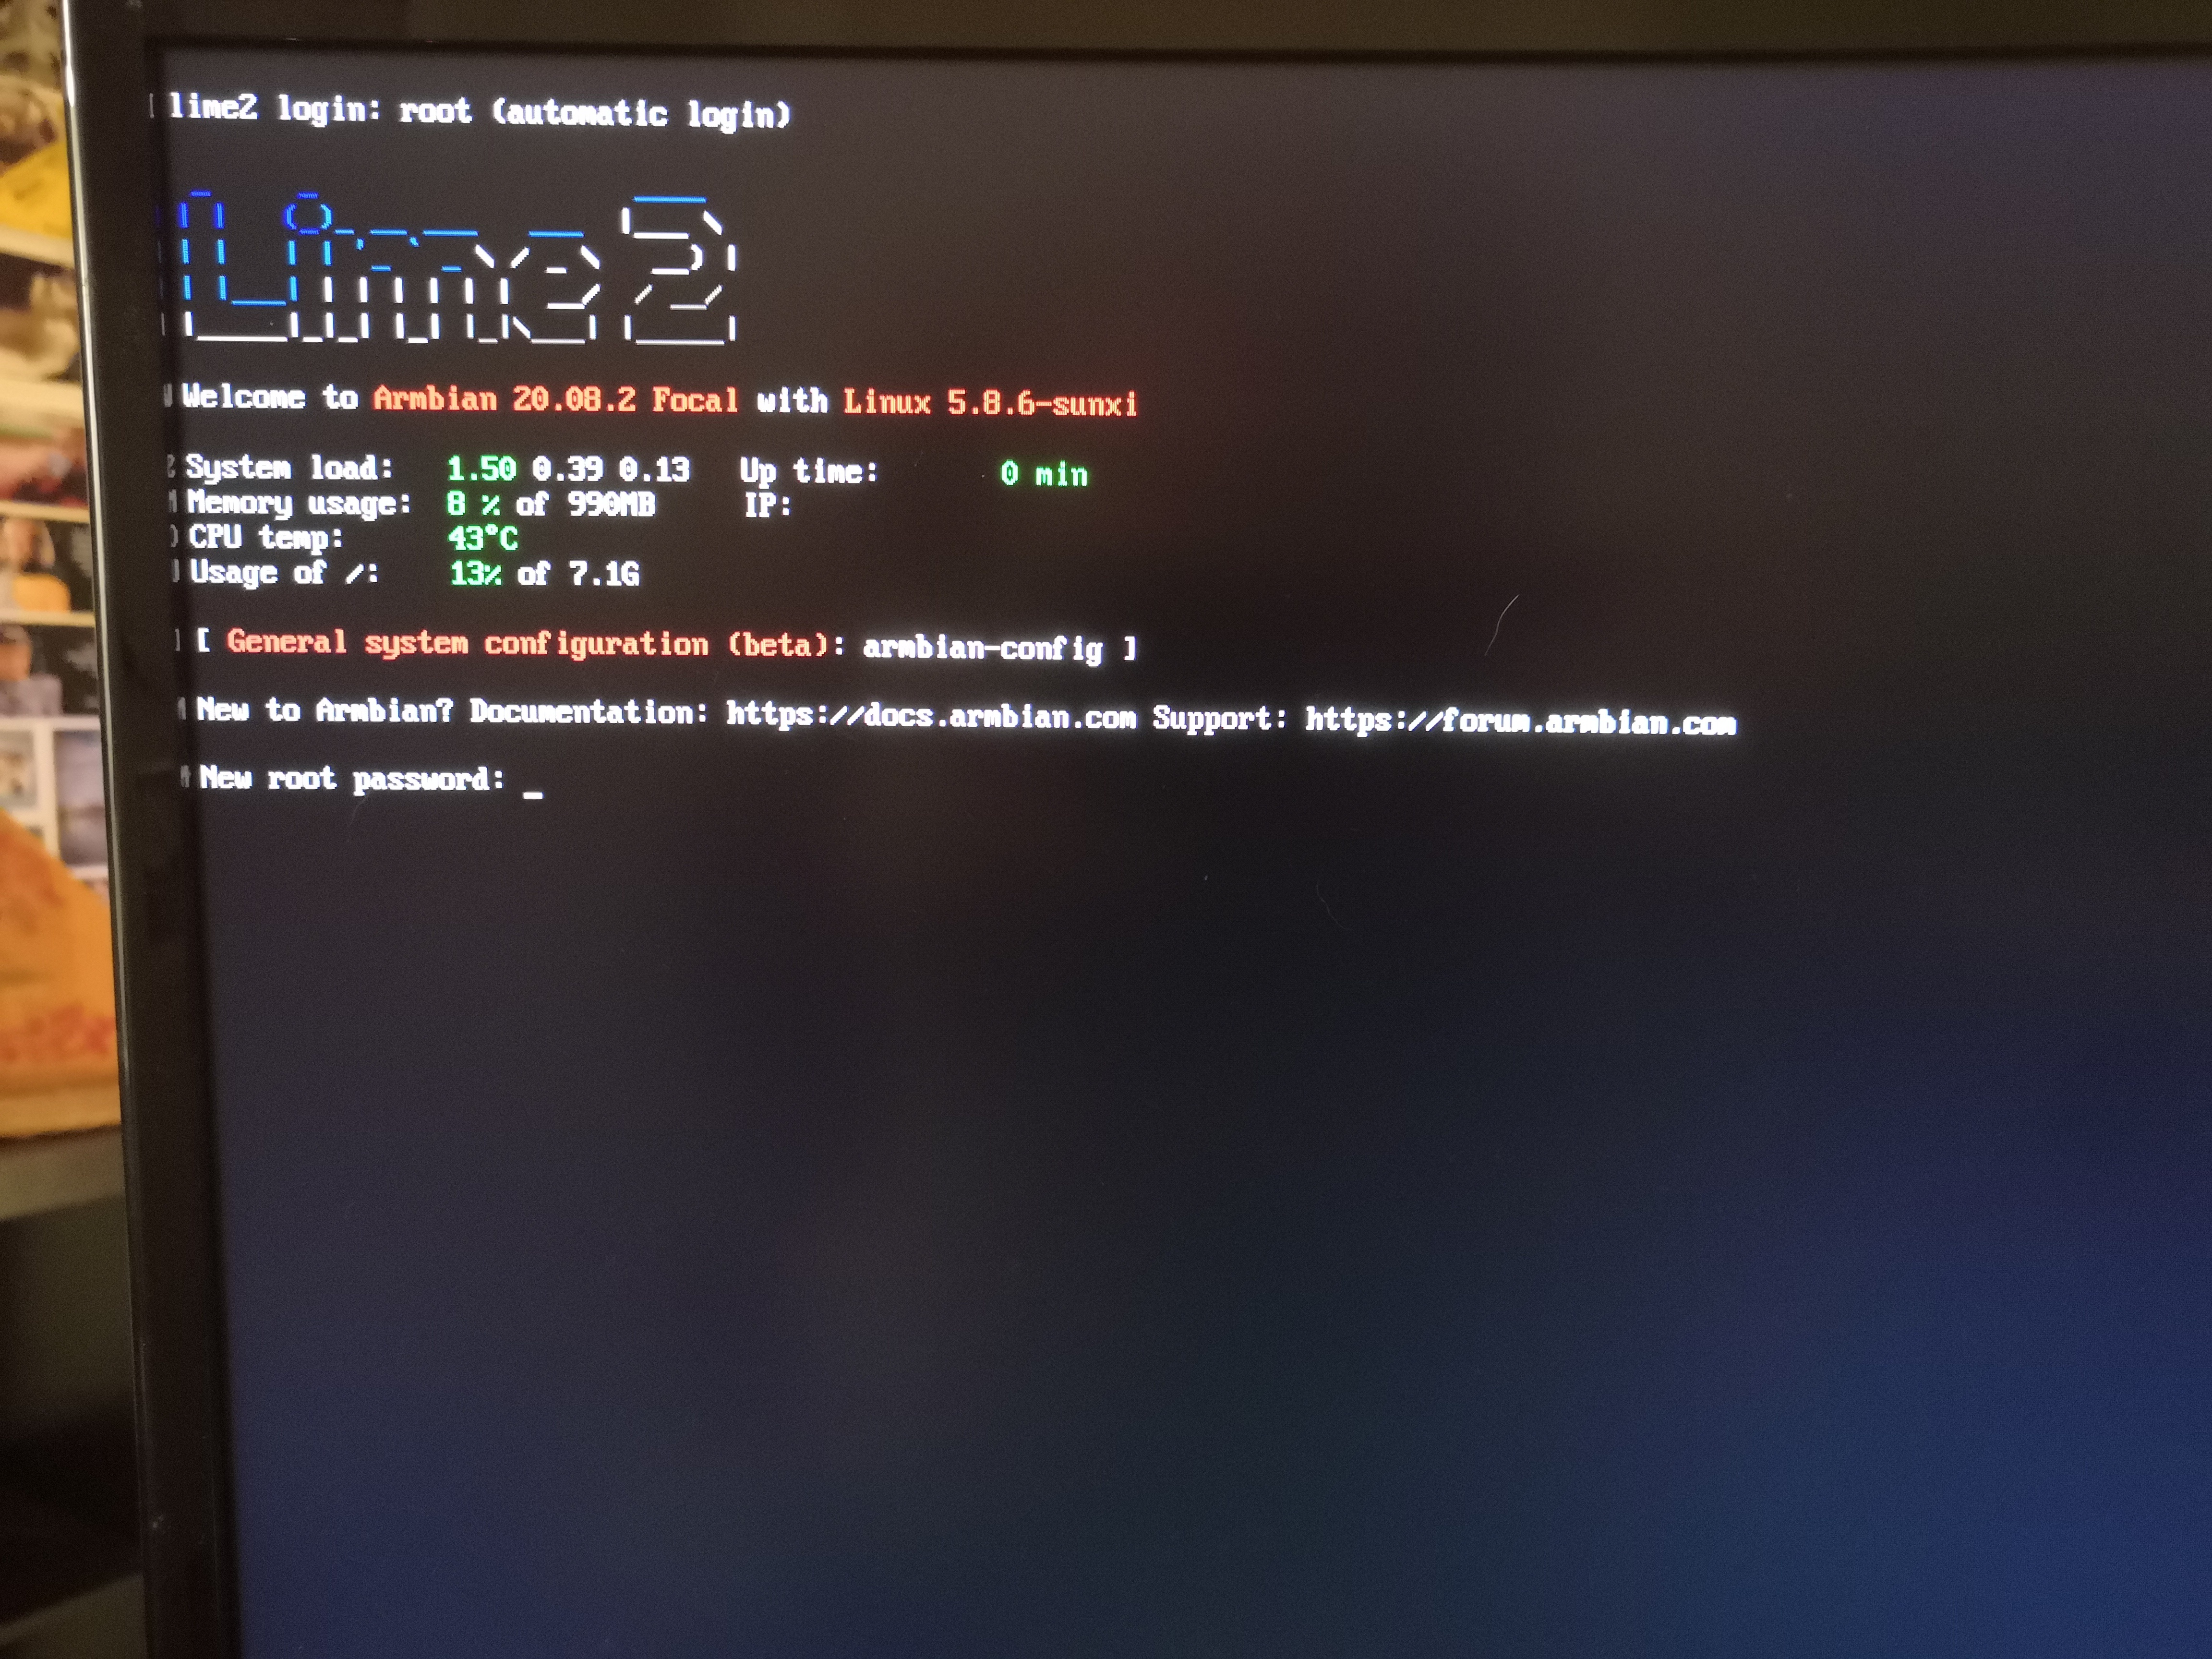
Download Image of Armbian Focal
wget https://uk.mirrors.fossho.st/armbian/dl/lime2/archive/Armbian_20.08.2_Lime2_focal_current_5.8.6.img.xz
unxz Armbian_20.08.2_Lime2_focal_current_5.8.6.img.xz
Flash image
Use balena etcher to flash on SD Card
Prepare to run
Attach LAN cable + Monitor + Keyboard to CoBox. Plug in power cable and let boot up. Then configure default username + password
sshd is already enabled. After configuring user and password you are able to connect by ssh directly
Configure the system
sudo apt update
sudo apt upgrade
sudo apt install libtool
Install the Seeder Service
All communication with the seeder happens via the hyperswarm DHT, which has some NAT hole-punching stuff built in.
Instructions for installing the seeder are here: https://docs.cobox.cloud/seeder_install.html. The install script only works for x64 architecture and wont run on the lime2. So we need to compile for ourselves. See https://gitlab.com/coboxcoop/seeder
We can install npm using Node Version Manager (nvm) or by regular repository installer (apt install npm)
curl -o- https://raw.githubusercontent.com/nvm-sh/nvm/v0.36.0/install.sh | bash #we use nvm

#log off and on again to make available nvm command to recent user
nvm ls-remote #list nodejs version

nvm install v12.16.3 #we install version 12.16.3 which is recommended to use for recent Cobox version. (see https://www.npmjs.com/package/@coboxcoop/seeder). It will be used (enabled) automatically
nvm use v12.16.3

#install some requirements for the seeder (globally using -g switch)
npm install -g pm2
npm install -g sodium-native

npm install -g @coboxcoop/seeder #this takes a while for the crypto library 'libsodium' to compile. Do not use newer npm version like 14.13.0. cobox will compile but not run because it's there's a sodium-native imcompability. We run 'nvm uninstall 14.13.0' to throw away that version. If you switched the npm version without reboot you might get strange non-working installation results
Run the seeder server application
This is a manual execution for configuration. First bootup will ask you for a seeder name. Just enter your desired name.
cobox-seeder start #if the cobox-seeder command is not available the installation might have failed or you need to re-renter your current user-session

#if "usr/bin/env: node: No such file or directory"  occures then call "nvm use v12.16.3" again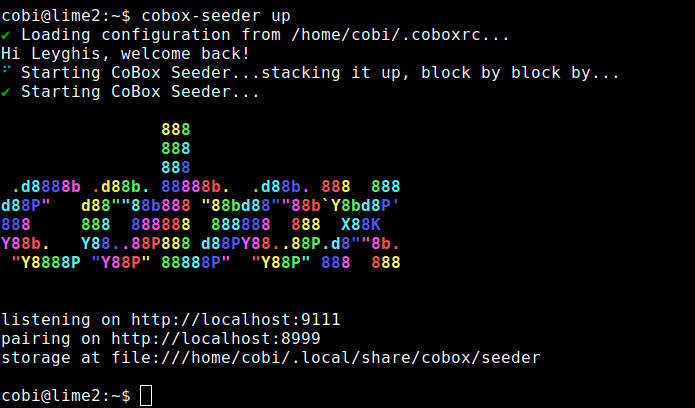
The config file is stored at /home/cobi/.coboxrc
Validate service is running
curl http://localhost:9111 #check if it is really running #after startup it might take 5-10 seconds until it appears!

#check the logs
cat /home/cobi/.local/share/cobox/seeder/logs/seeder/error.log
Export Seeder Keys
cobox-seeder keys exportRemaining ToDos
- integrate hard drive as main storage and make use of it
- reduce power sucking of Olimex by disabling unrequired features
- general hardening
- convenience stuff
CoBox Setup on Windows Subsystem for Linux
This is not tested yet. Happy to get some info about how that will behave.
#run an admin shell
curl -sL https://deb.nodesource.com/setup_11.x | sudo -E bash -
#to be documented
Install a CoBox client
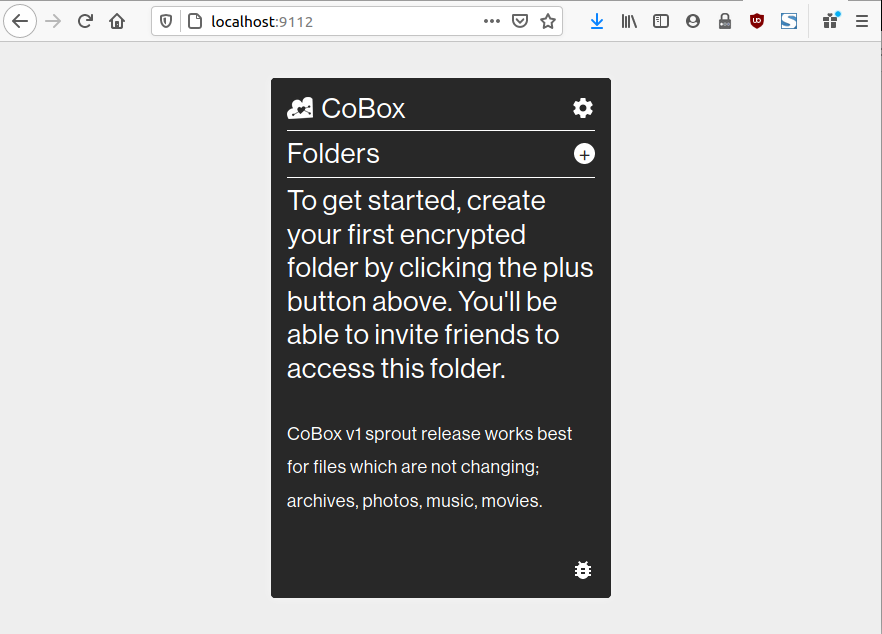
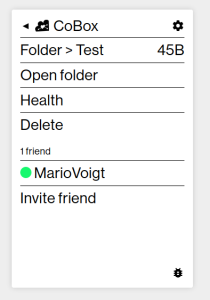
this is done on your laptop or desktop computer → https://docs.cobox.cloud/app_install.html
CoBox Desktop Client
Test bench on a Linux Ubuntu 20 LTS computer
https://docs.cobox.cloud/app_install.html
curl -o- https://cobox.cloud/releases/cobox-v1.0.0-alpha.1/download.sh | bash
CoBox 1.0.0-alpha.1 has been downloaded successfully. Execute it with this command:

/home/tomate/.config/cobox/releases/cobox-v1.0.0-alpha.1-linux-x64/cobox

Add it to your PATH with this command (add this to .bash_profile / .bashrc / .zshrc):

export PATH="$PATH:/home/tomate/.config/cobox/releases/cobox-v1.0.0-alpha.1-linux-x64"
tomate@tomator:~$ vim .bashrc
tomate@tomator:~$ source .bashrc
tomate@tomator:~$ cobox start
✖ No configuration found. Lets make one!
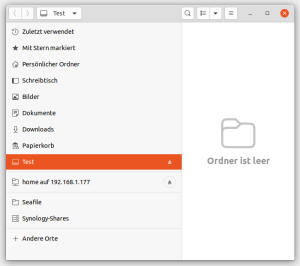
✔ Where will cobox be accessible? … /home/tomate/cobox
✔ Saving configuration to /home/tomate/.coboxrc
stacking it up, block by block by...
888
888
888
.d8888b .d88b. 88888b. .d88b. 888 888
d88P" d88""88b888 "88bd88""88b`Y8bd8P'
888 888 888888 888888 888 X88K
Y88b. Y88..88P888 d88PY88..88P.d8""8b.
"Y8888P "Y88P" 88888P" "Y88P" 888 888
listening on http://localhost:9112
pairing on http://localhost:8999
mounting at file:///home/tomate/cobox
storage at file:///home/tomate/.config/cobox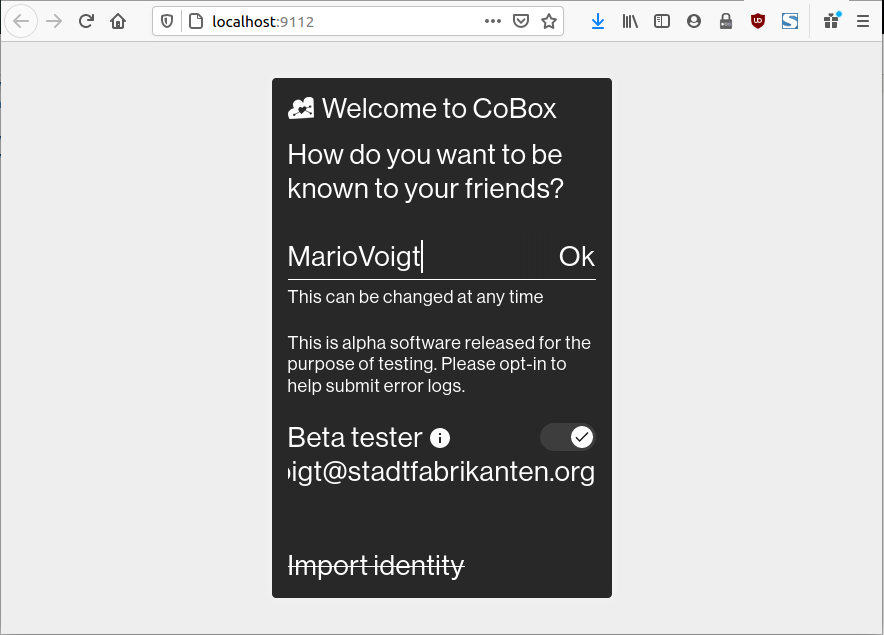
Keine Kommentare vorhanden
Keine Kommentare vorhanden