Visicut und VisiCam
Installation von Visicut
Erfordernisse
- Microsoft Visual C++ 2010 Service Pack 1 Redistributable x64
- Apache Ant 1.9.9
- OpenCV Library 2.4.9
- JavaCV Library 0.8
- Oracle Java JDK 1.6u45 (Login notwendig)
- VisiCam - Commit da73c08
Anleitungen
- https://github.com/t-oster/VisiCam (README.md)
- https://github.com/t-oster/VisiCam/wiki
- https://visicut.org
Step by Step
Git cloning
cmd
mkdir "C:\Epilog Laser\"
cd "C:\Epilog Laser\"
git clone https://github.com/t-oster/VisiCam.git
Java Installation
https://download.java.net/java/GA/jdk14.0.2/205943a0976c4ed48cb16f1043c5c647/12/GPL/openjdk-14.0.2_windows-x64_bin.zip herunterladen und in C:\Epilog Laser\VisiCam\ entpacken
ant Installation
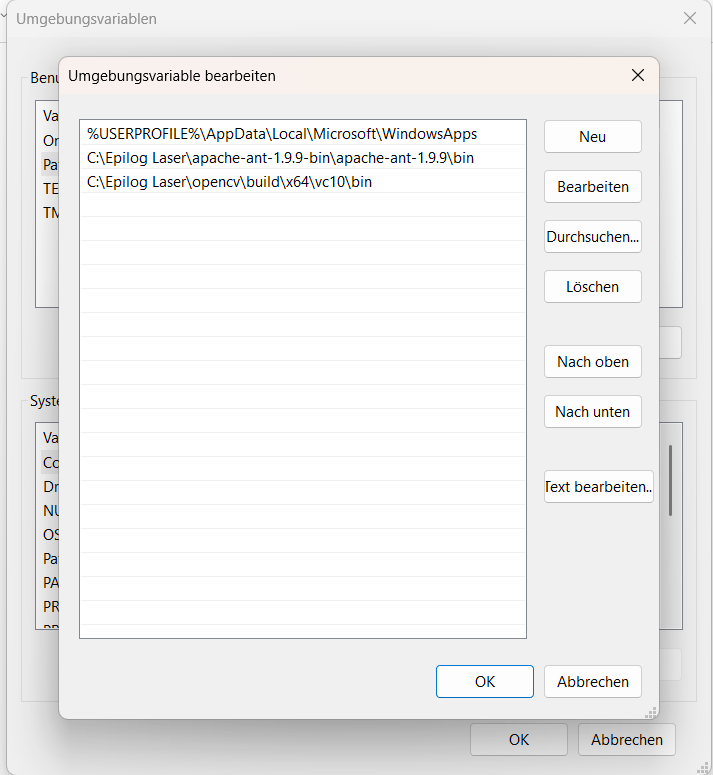
ant herunterladen, nach C:\Epilog Laser entpacken und dann ant in Umgebungsvariable %PATH% (User) einfügen: C:\Epilog Laser\apache-ant-1.9.9\bin
Wir benötigen diese alte ant Version, damit Java 1.6 unterstützt wird.
Javacv Bibliothek v0.8 einbinden
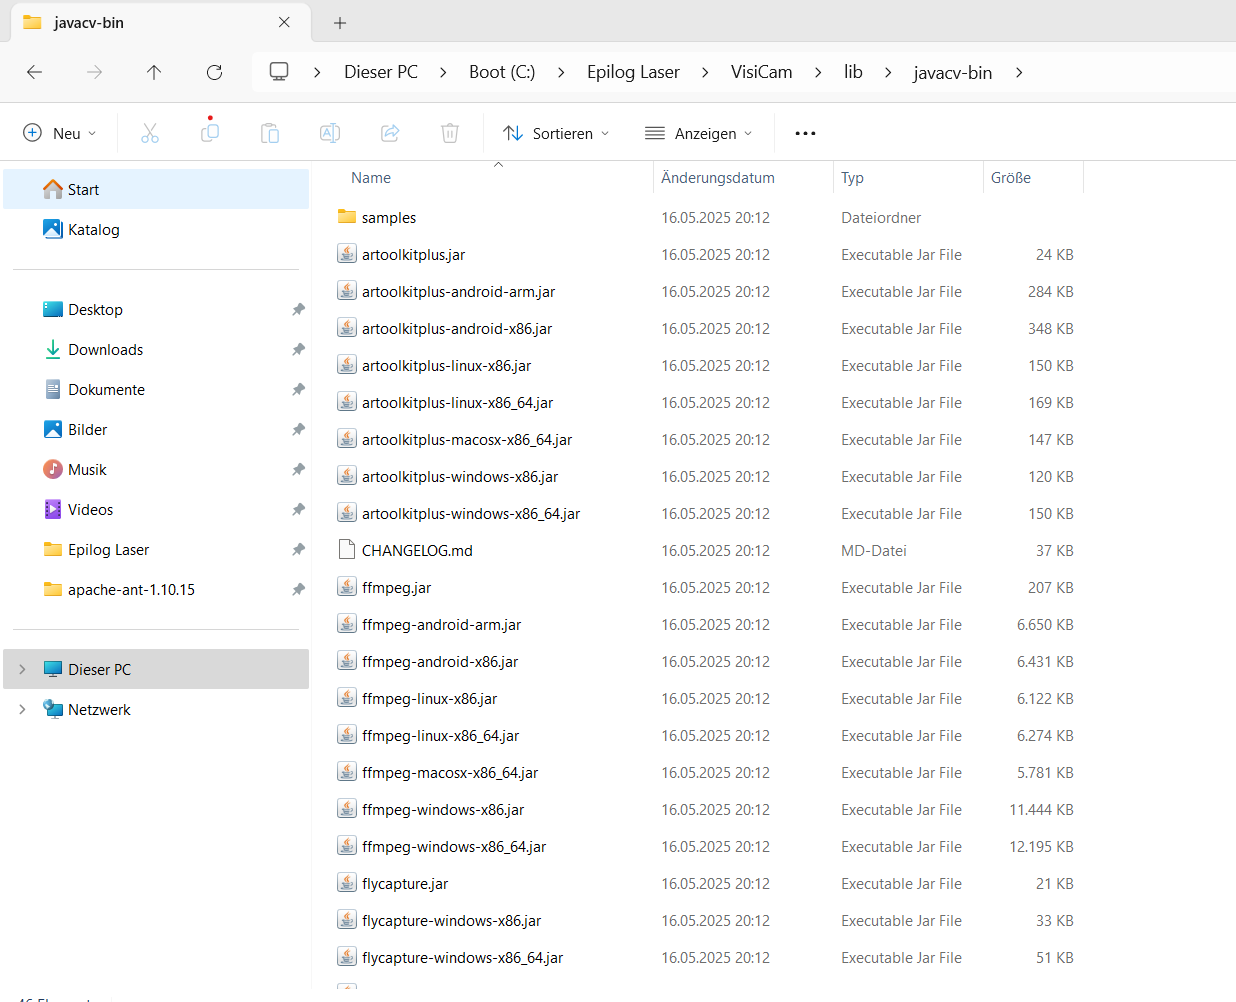
Herunterladen von https://repo1.maven.org/maven2/org/bytedeco/javacv/0.8/javacv-0.8-bin.zip und Entpacken in C:\Epilog Laser\VisiCam\lib\javacv-bin
OpenCV Bibliothek 2.4.9 einbinden
Herunterladen und Installieren von https://sourceforge.net/projects/opencvlibrary/files/opencv-win/2.4.9/opencv-2.4.9.exe/download

Projekt kompilieren
cmd
cd "C:\Epilog Laser\VIsiCam\"
set "JAVACMD=C:\Program Files\Java\jdk1.6.0_45\bin\java.exe"
ant -verbose