| [](https://wiki.stadtfabrikanten.org/uploads/images/gallery/2026-06/uecxcnMzQ9ooqwNj-grafik.png) | [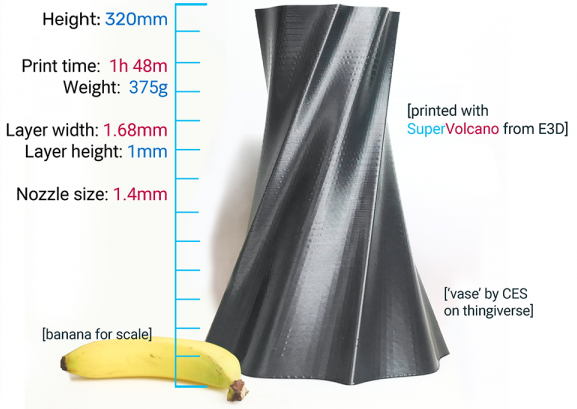](https://wiki.stadtfabrikanten.org/uploads/images/gallery/2026-06/AcJI406NUBmC92bV-grafik.png) | [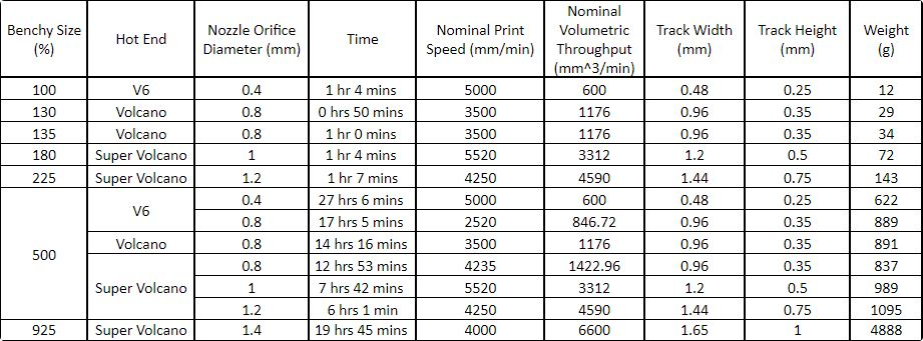](https://wiki.stadtfabrikanten.org/uploads/images/gallery/2026-06/HBl7WqK6W0hQMdnf-grafik.png) |
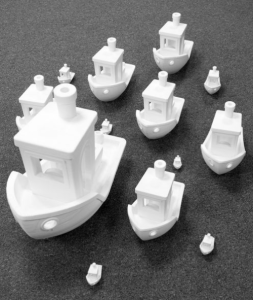
| Benchy test prints with different hotends | SuperVolcano example | Table which shows the physical test values for each hotend |
| Source of images and information: [ https://e3d-online.com/blog/2019/02/28/supervolcano](https://e3d-online.com/blog/2019/02/28/supervolcano/) | ||
| Stool example | Octoprint evidence | Machine parameters |
|---|---|---|
| [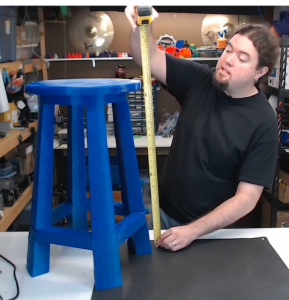](https://wiki.stadtfabrikanten.org/uploads/images/gallery/2026-06/w9FygvyIVQJ6CrhH-grafik.png) | [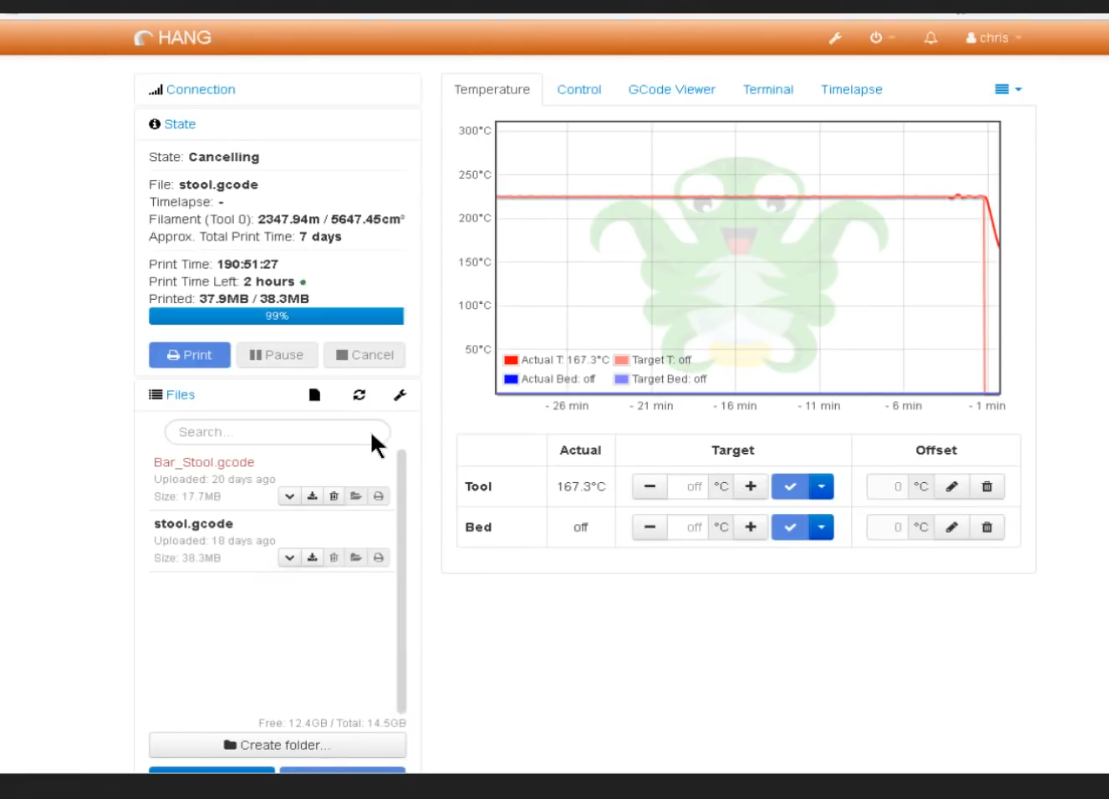](https://wiki.stadtfabrikanten.org/uploads/images/gallery/2026-06/OH1z7NWKiwBXw1g8-grafik.png) | - 1.75 mm layer height - 0.8 mm nozzle - 30mm/s print speed - 4 shells - 10% infill - stool weight 4 kg - support material required 0.6 kg - total weight 4.6 kg - printed material amount: 5 kg @ 1.75 mm - 225°C nozzle temperature |
| **parameter** | **value** | **hints** |
| nozzle diameter | 1.40 mm | |
| platform shape | circle | |
| max. print height | get it by calibration → see [Building basics, checks, maintenance](https://old.stadtfabrikanten.org/display/TH/Building+basics%2C+checks%2C+maintenance) | - belongs to the room / frame where it is mounted |
| print diameter | 1000 mm (maximum physical value by the manufactured print platform) or 918.1 mm by thumb formula | - belongs to the room / frame where it is mounted
- for max. recommended build diameter at z = 0 see [RepRapFirmware and calculations](https://old.stadtfabrikanten.org/display/TH/RepRapFirmware+and+calculations) (thumb formula)
- remember that in  the print radius will be much smaller because the typical Hangprinter build volume shape looks like a trumpet or funnel
|
| max. feed XYZE | - XYZ 9500 mm/min = 158.33 mm/s - we use 160 mm/s - E 3600 mm/min = 60 mm/s | - should match firmware settings |
| max. velocity XYZE | ? mm/s² | |
| max. jerk XYZE | ? mm/s | |
| regular (nominal) print speed | 1800 mm/min = 30 mm/s | - should be low because we use huge nozzle with high output. We can actually print "really quick" because we use a nozzle with 10 times more volumetric output and power **but we still print with the same "slow" speed like a regular desktop 3D printer**. - tested and validated with [Encoder KY-040 by Keyes - filament monitor](https://old.stadtfabrikanten.org/display/TH/Encoder+KY-040+by+Keyes+-+filament+monitor) - values higher than ~ 40 mm/s cause grinding and failing sounds of the stepper motor. not a good idea! |
| max. volumetric throughput | 6600 mm³/min = 110 mm³/s | - working parameter by E3D's Benchy hotend comparison test |
| print speed for first layer | 15 mm/s | - 30-50% speed of regular print speed |
| print travel speed | 130 mm/s | - can be tuned higher. We use maximum possible value |
| typical layer (track) height | 1.00 mm | - ~50% of nozzle diameter are usual - working parameter by E3D's Benchy hotend comparison test - lowest working layer is 0.50 mm (tested successfully) |
| first layer height | 100% | - 160% of typical layer (track) height |
| first layer width | 1.57 mm | - 120% of typical layer (track) width |
| support material extrusion width | 1.00 mm | - values below 1.00 mm are making trouble. Use values up to 1.22 mm |
| retraction vertical lift (Z hop) | 1.50 mm | - disabled to reduce vibration and vertical stringing |
| retraction speed | 60 mm/s | - using the maximum allowed and measured feed of 3600 mm/min |
| retraction | 1.60 mm | - changed from 0.8 to 1.6 mm on 25.10.2020 |
| coasting | disabled | |
| G-Code Flavor | Marlin | - this is defined as a GCode flavor or dialect in RepRapFirmware |
| parameter | value | hints | |
|---|---|---|---|
| 1 | filament diameter | 1.75 mm | - measure this for each filament. Sometimes we have 1.80 mm instead of 1.75 mm which makes a differene of ~2.8 % in flow rate |
| 2 | extrusion multiplier | 1.0 | - extruder is well calibrated so not really a need to adjust this |
| 3 | maximum hotend temperature | 260 °C | - limited to that value because E3D hotend with silicone sock |
| 4 | extrusion temperature for first layer | 205 - 210 °C | - 190 - 210 °C for usual printing (Desktop 3D printers) |
| 5 | extrusion temperature for other layers | 195 - 240 °C | - 190 - 210 °C for usual printing. As we print really quick we need to raise PLA temperature up to 240 °C to have a good plastic flow. Lowering the temperature leads to stumbling extruder gear or devoured filament string |
| 6 | automatic cooling of the print | enabled | |
| 7 | min. cooling fan speed | 55 % | - got the value by experiments |
| 8 | max. cooling fan speed | 100 % | - got the value by experiments. The better the cooling the better the surface quality |
| [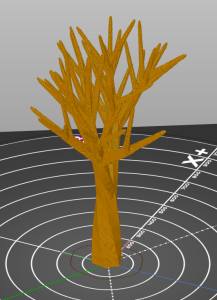](https://wiki.stadtfabrikanten.org/uploads/images/gallery/2026-06/uOwoHEwblMymMLYJ-grafik.png) no support | [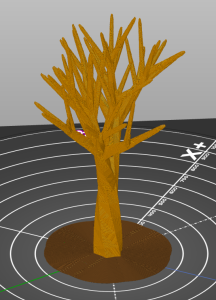](https://wiki.stadtfabrikanten.org/uploads/images/gallery/2026-06/RwfnqCp66JiJS1EA-grafik.png) with support |
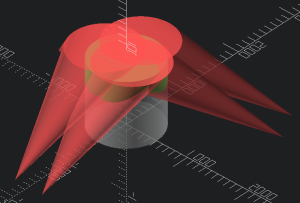
| **Layer 1** | **Layer 100** | **Layer 500** |
| [](https://wiki.stadtfabrikanten.org/uploads/images/gallery/2026-06/w0YLC7tc1nENhhV0-grafik.png) | [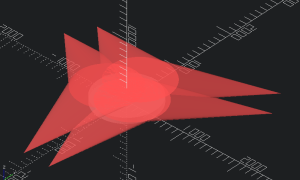](https://wiki.stadtfabrikanten.org/uploads/images/gallery/2026-06/V1R8dytcErUXeRmS-grafik.png) | [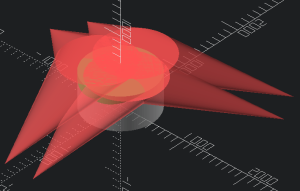](https://wiki.stadtfabrikanten.org/uploads/images/gallery/2026-06/Wa8mCVHGLW8pFdjT-grafik.png) |
| **Layer 1000** | **Layer 1500** | **Layer 2500** |
| [](https://wiki.stadtfabrikanten.org/uploads/images/gallery/2026-06/8b63j5XQLp4U8pui-grafik.png) | [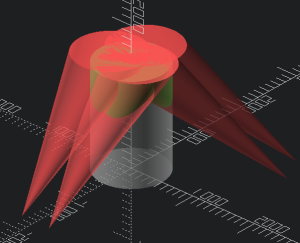](https://wiki.stadtfabrikanten.org/uploads/images/gallery/2026-06/AFVskl7X5FIxdSl9-grafik.png) | [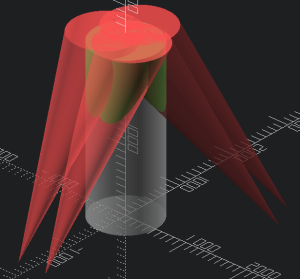](https://wiki.stadtfabrikanten.org/uploads/images/gallery/2026-06/urOubqhagNlmcMGq-grafik.png) |