Shape/Pattern from existing Path(s)
- Bounding Box
- Convex Hull
- Delaunay Triangulation
- Dots To Path Points
- Draw Directions / Travel Moves
- Hatch Fill
- Netting
- Number Subpaths
- Offset Paths
- Strip Line
- Travel
- Twist
- Unwind Paths
- Zigzag Nodes
Bounding Box
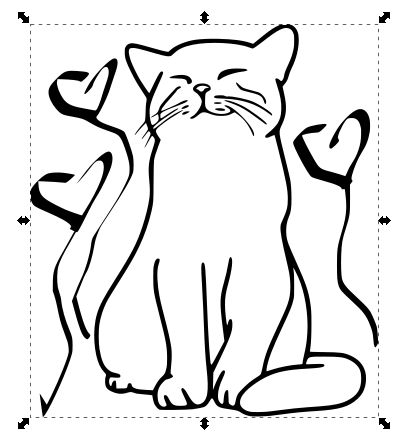
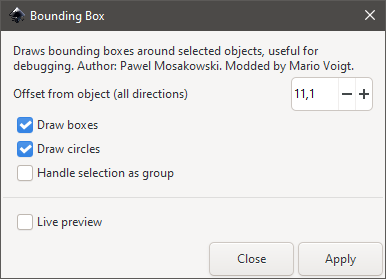
This is a simple but useful extension to create rectangles and/or circles around selected items. In Inkscape 1.2.1 the option to set some margins around the object were removed, so this extension is even more useful, as it acts a similar way.
Select one or more objects

Example 2 (multiple objects at once)

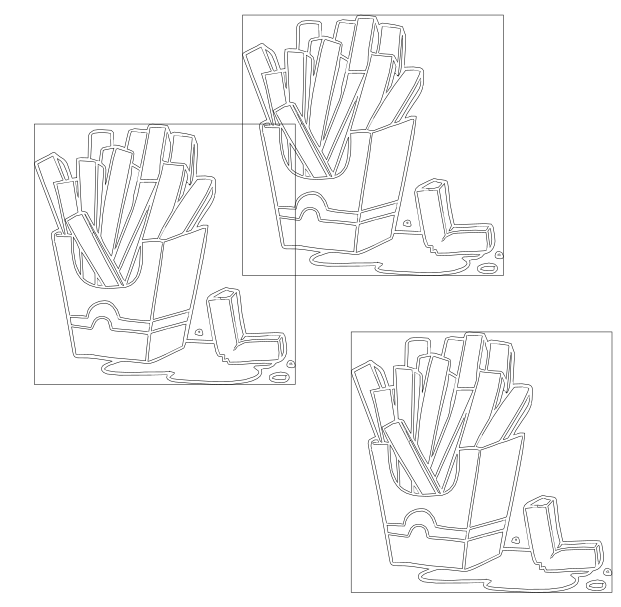
The same can be done with Live Path effects!
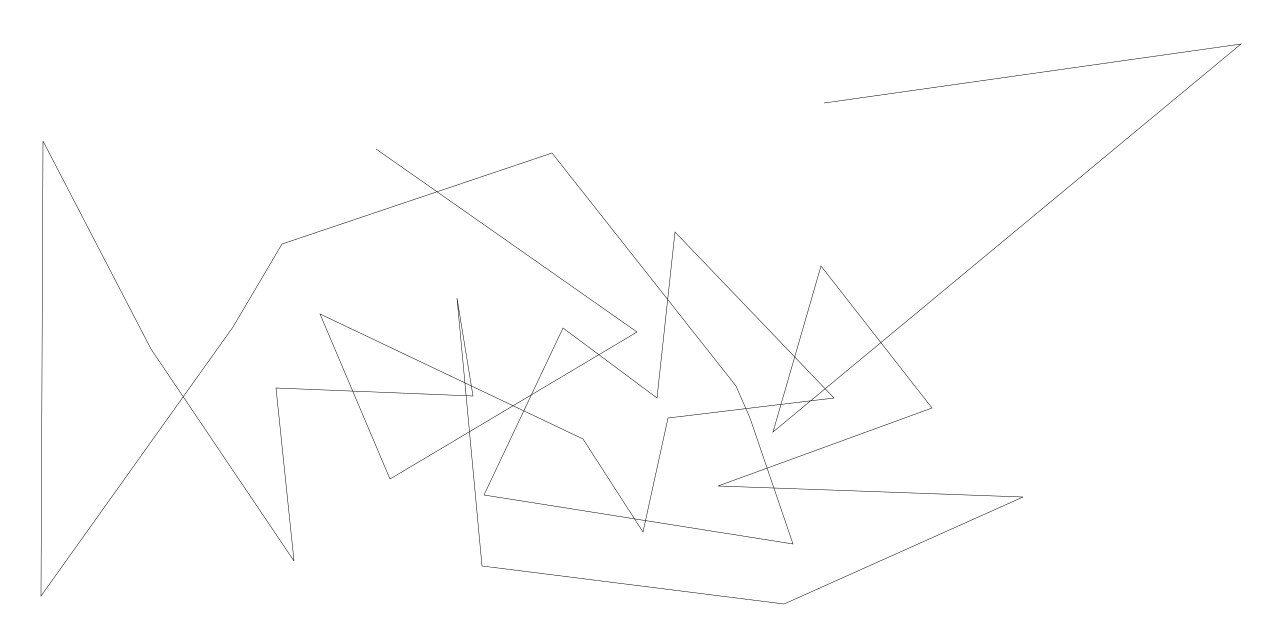
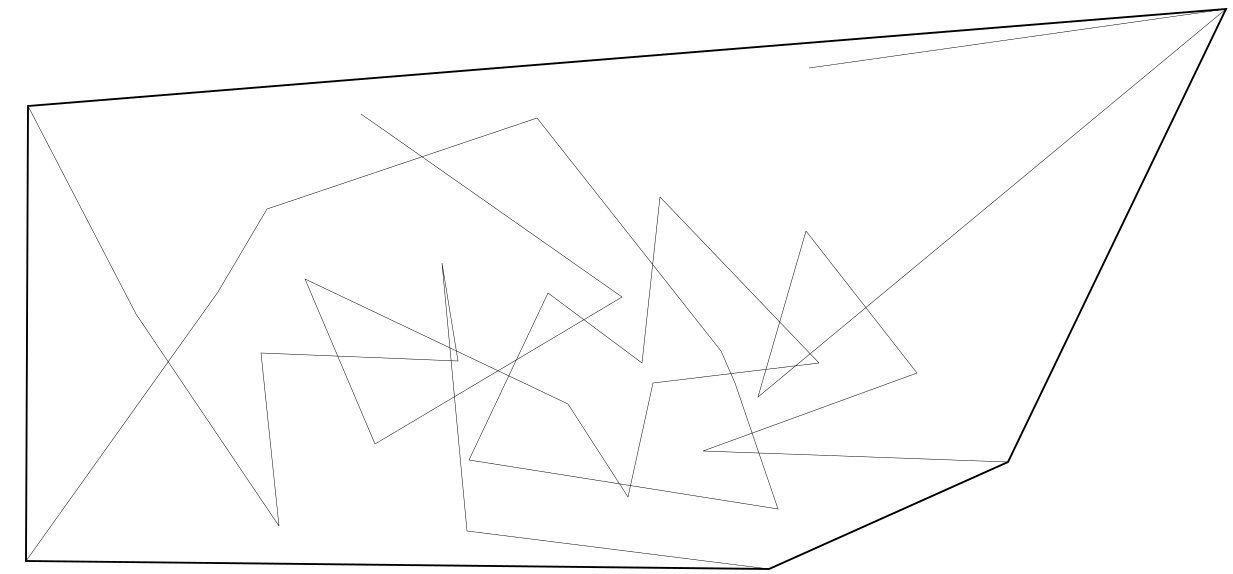
Convex Hull
Creates a convex hull for the current selection of paths. Does not apply to objects and only works for polylines and not for bezier curves!
Example for a long fuzzy polyline
Bad example with bezier paths
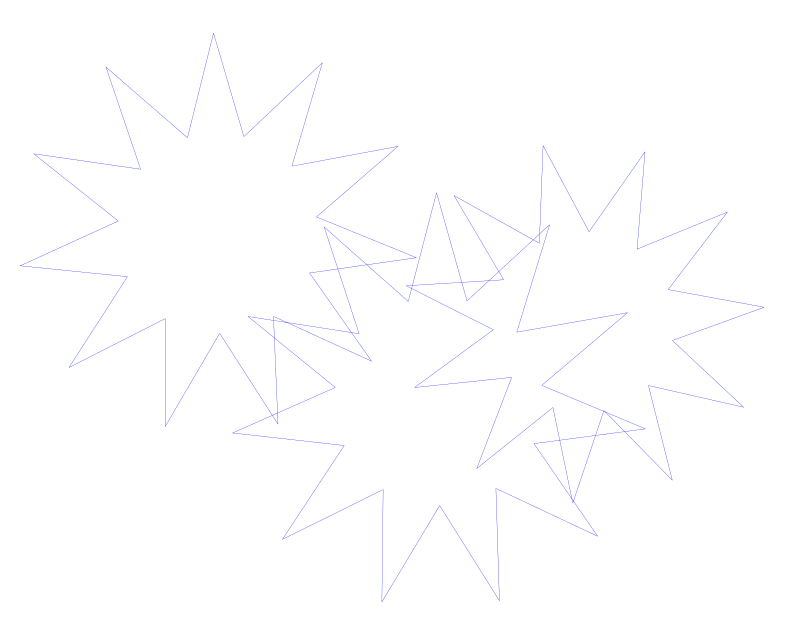
Delaunay Triangulation

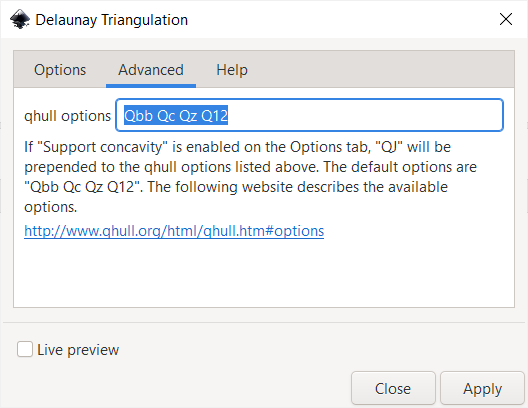
Draw some paths
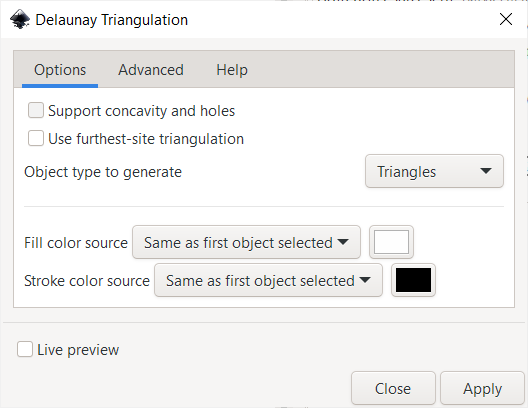
Apply extension
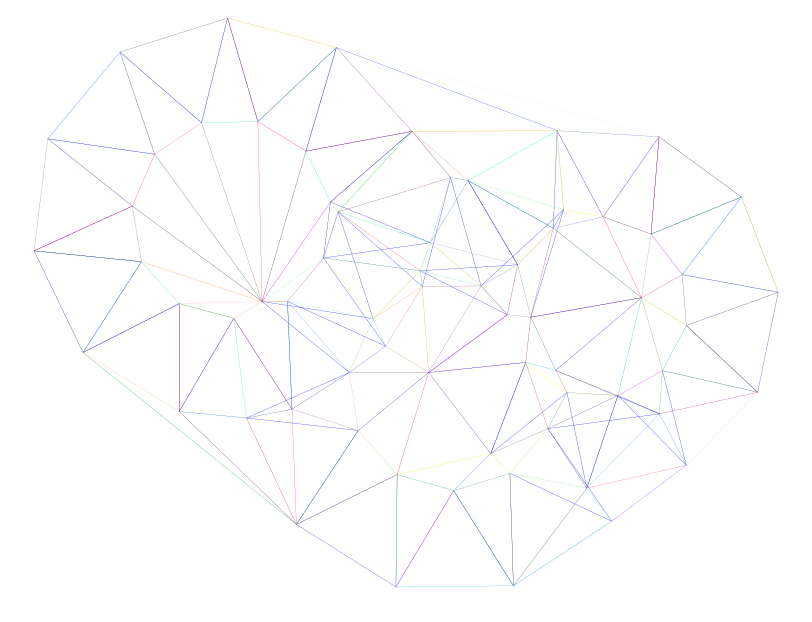
The result
Dots To Path Points
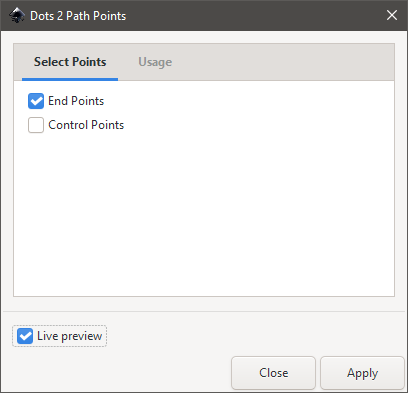
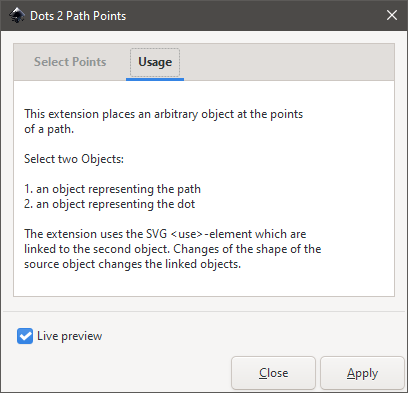
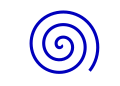
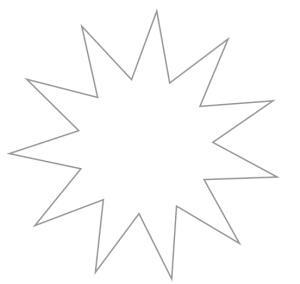
Draw some guidance path and some object
The object will be cloned so it will be attached to each control path's point
Run the extension
First select the object, then the control path
The result
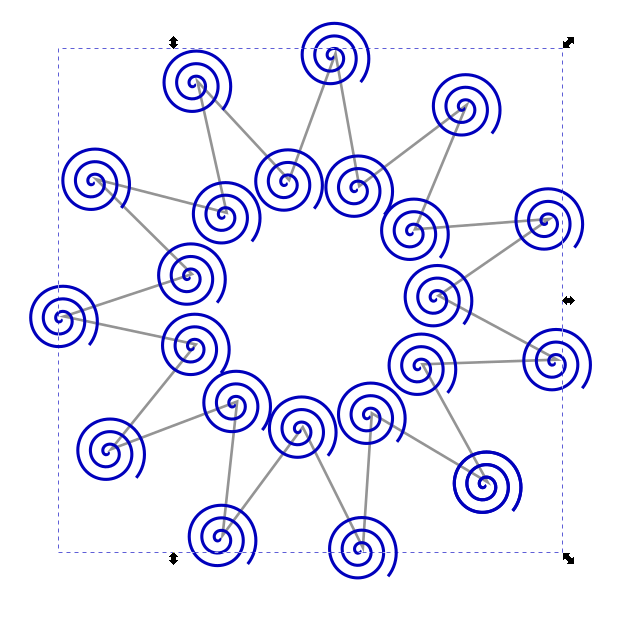
Draw Directions / Travel Moves
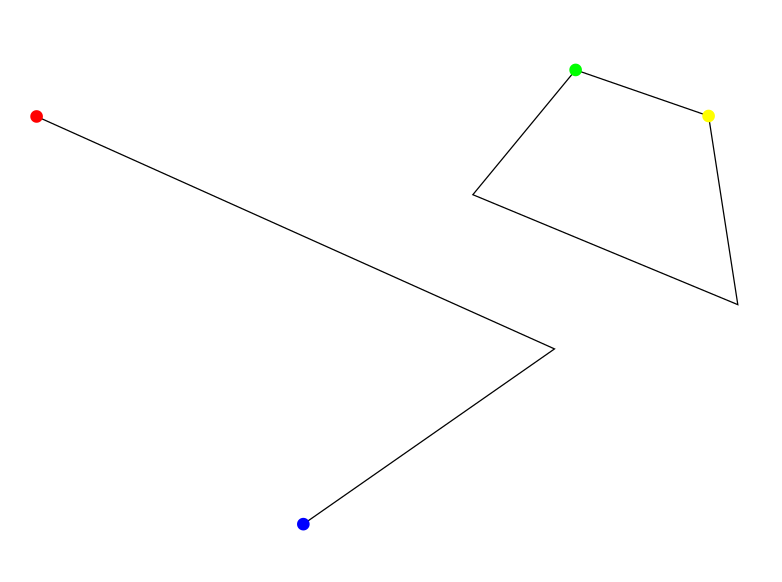
This extensions marks start and end point of opened (red + blue) and closed paths (green + yellow). See also Move Path Node.
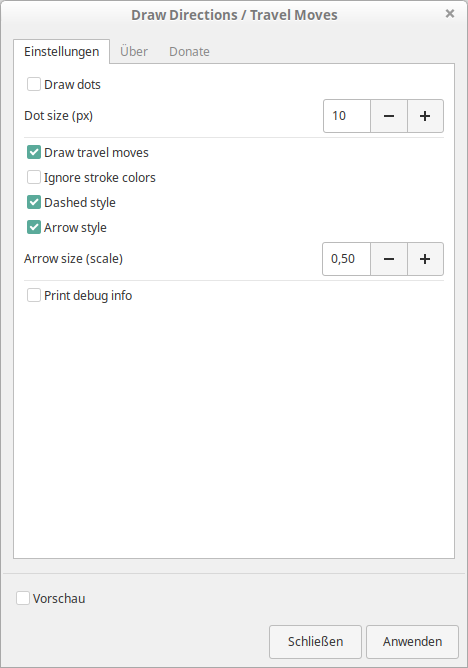
Example 1: Draw dots
Draw some paths
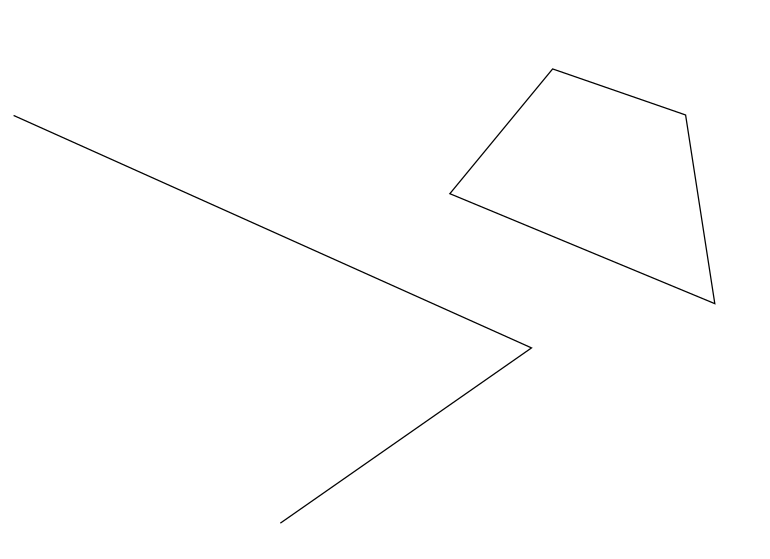
Run the extension and get the result
Example 2: Draw travel moves
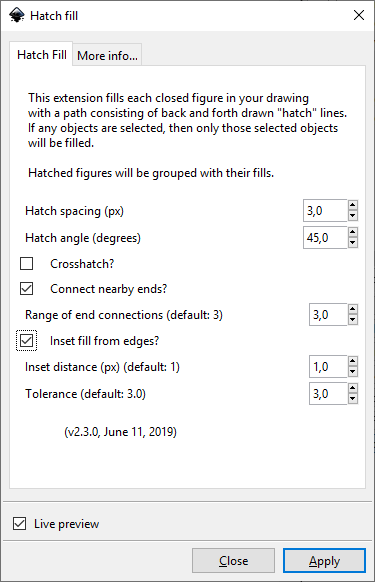
Hatch Fill
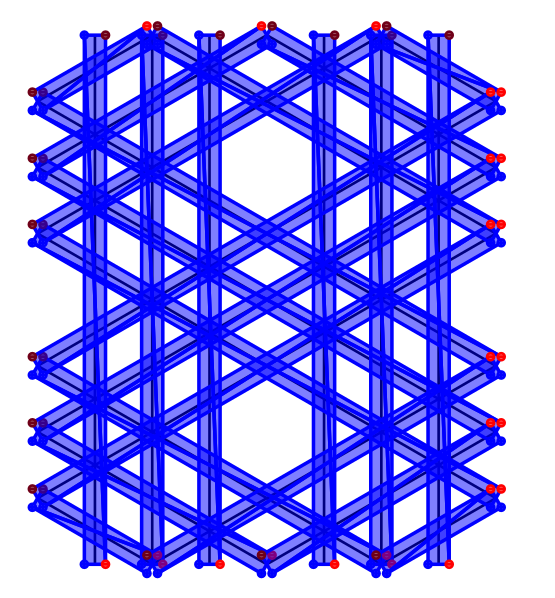
Netting
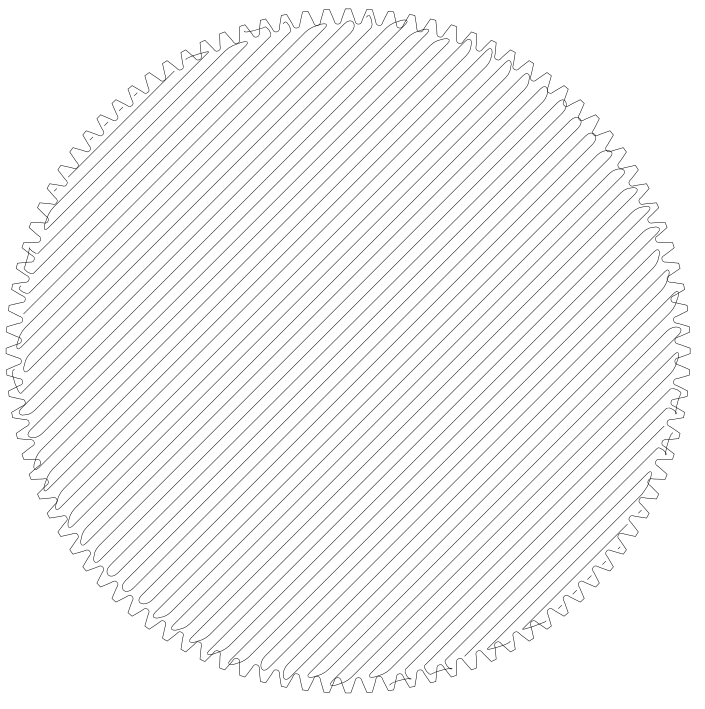
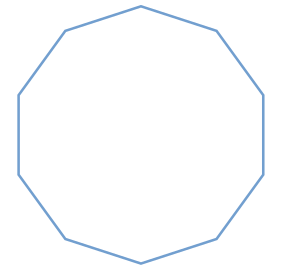
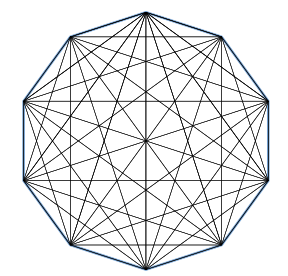
This effect (alternatingly) nets in the selected paths. Based on the work of Sunabe Kazumichi.
See http://dp48069596.lolipop.jp
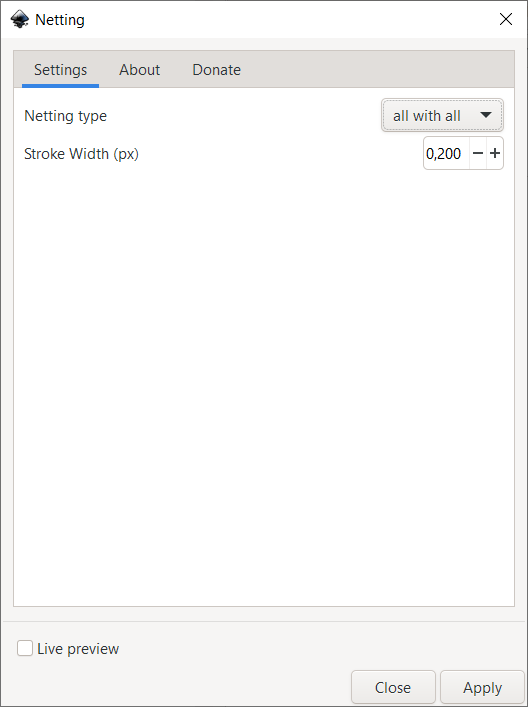
| Original Path | All with all | Alternatingly |
 |
 |
 |
Number Subpaths
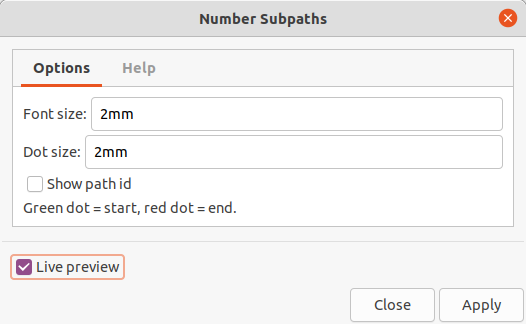
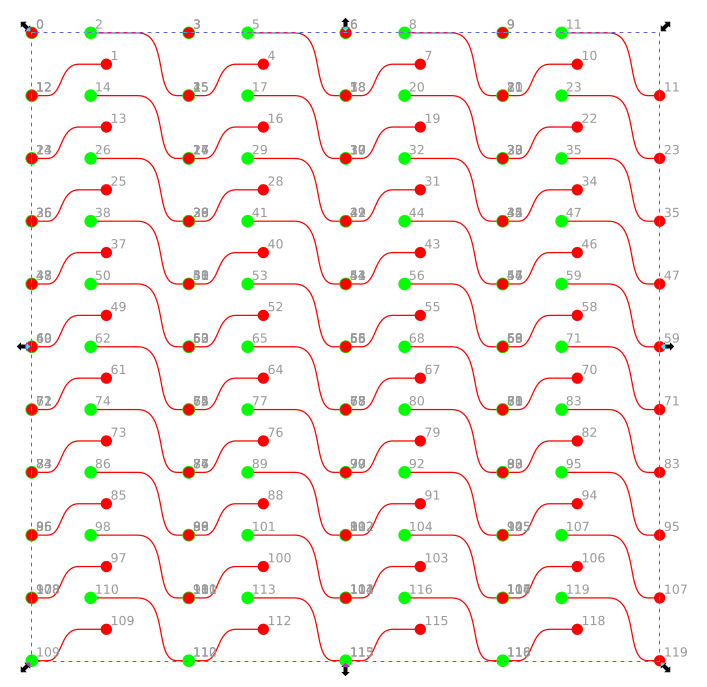
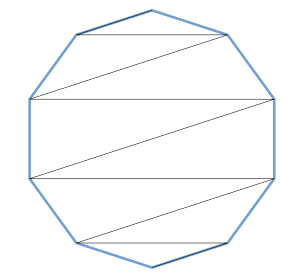
Visualize the order of subpaths within one path. Each start and end node will be marked with green/red dots and a text flag according to its order. Optionally the path ID could be visualized if working with more than one combined path.
I use this for various projects where combining paths is needed and the order is of importance - embroidery designs, developing and testing extensions for cutting/plotting.
This extension is based on the Inkscape included extension Visualize Path → Number Nodes by Aaron Spike from 2005. Number Subpaths can be found in the same menu when installed.
See https://inkscape.org/~EllenWasbo/%E2%98%85number-subpaths and https://gitlab.com/EllenWasbo/inkscape-extension-number-subpaths
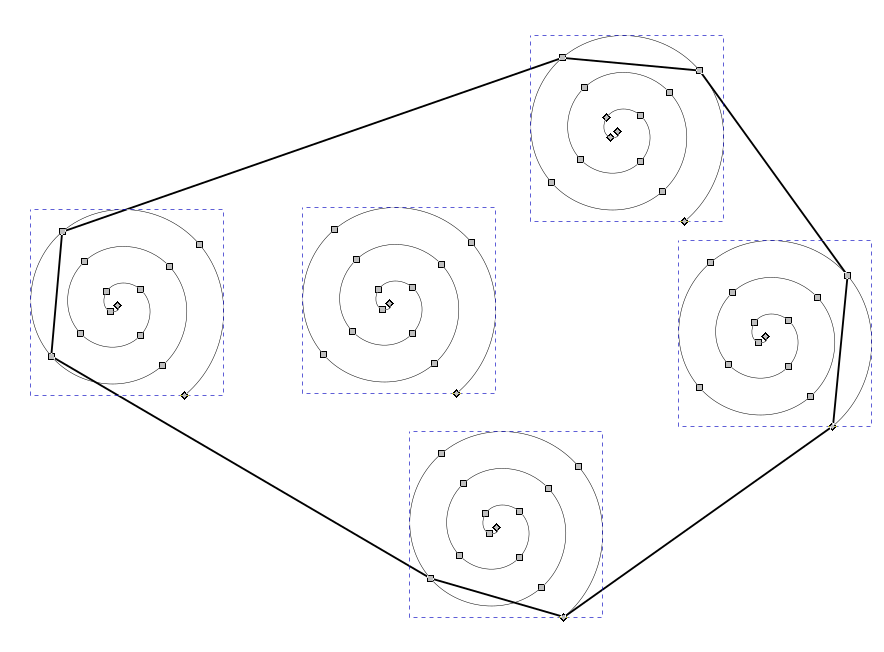
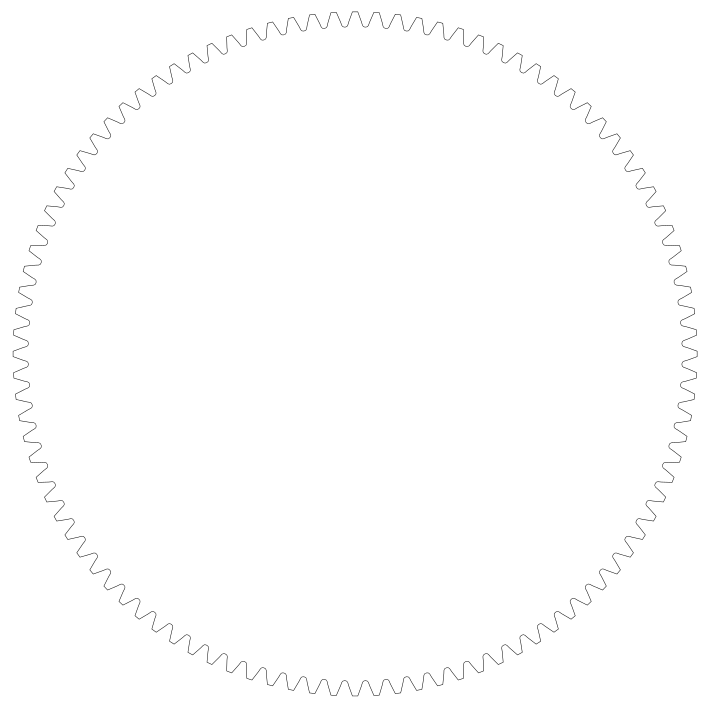
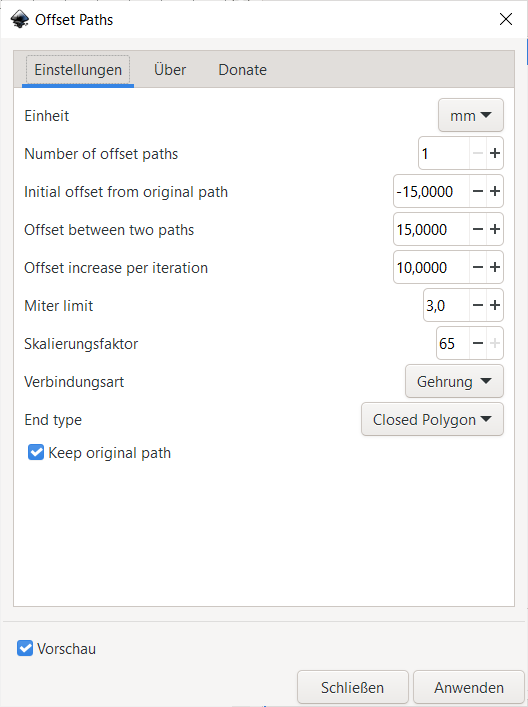
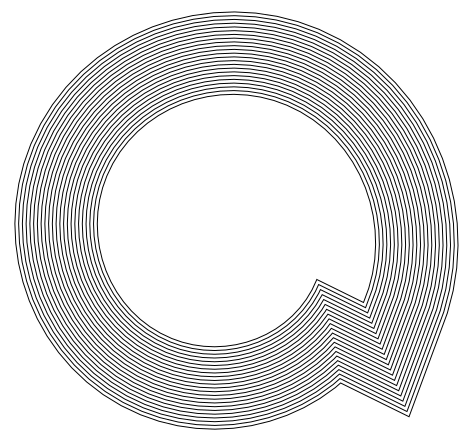
Offset Paths
Create offset for open or closed paths from non-bezier paths (destructive method). Python library pyclipper needs to be installed (which is automatically done, if you install MightyScape completely). Use Approximate Curves by Straight Lines (Flatten Beziers) extension in advance of this plugin to convert your paths.
This extensions' code is based on https://github.com/TimeTravel-0/ofsplot
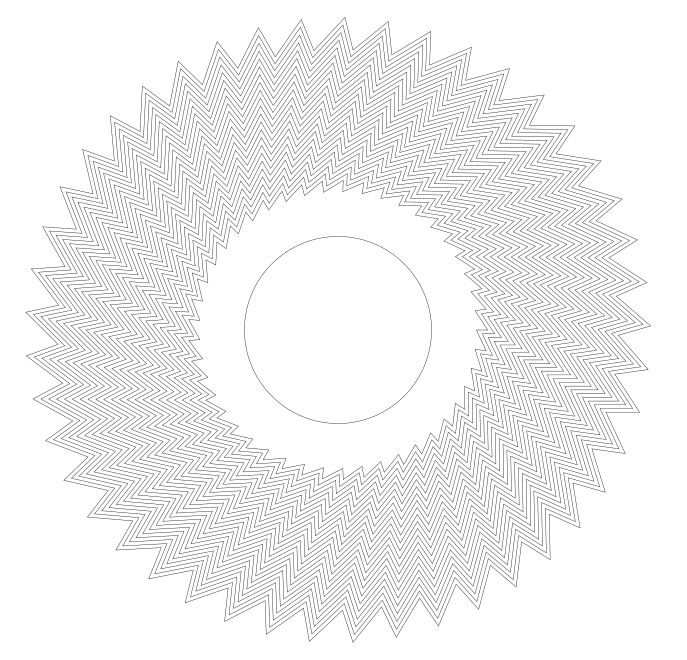
Draw some Ratchet (as example)
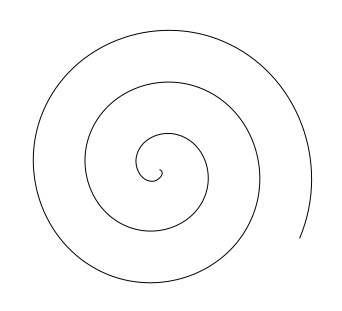
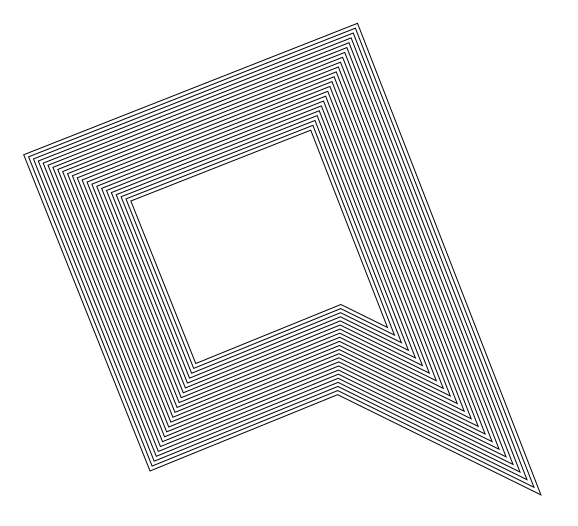
Tests with Bezier curves
| Input | Spiral without Approximate Curves by Straight Lines (Flatten Beziers) | Spiral with Approximate Curves by Straight Lines (Flatten Beziers) |
 |
 |
 |
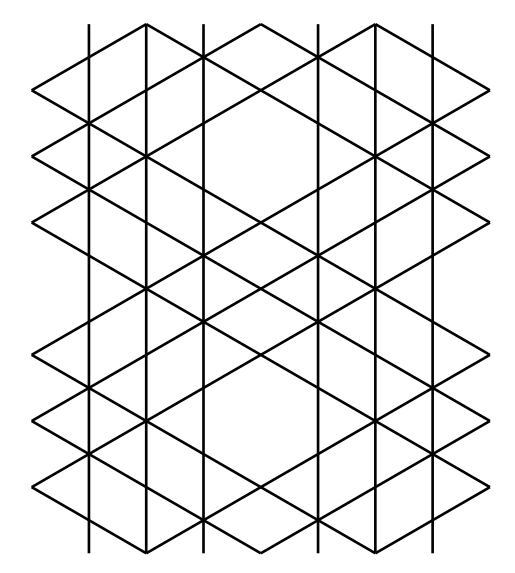
Strip Line
Generates a strip line from linear path segments. The whole document will be parsed. This extension does not respect the user selection. Please remove existing transformations before using. You can use Apply Transformations to do this.
Draw some line pattern
Run the extension

Get strip lines
Travel
Source of documentation: https://github.com/rkp8000/inkscape-travel
Copy an object along a precise parametric trajectory.
Usage
Select two objects to use this extension: a rectangle and a template. The rectangle must be below the template, and the template must be a path or group of paths. If any path within the template has "arc" elements (e.g. ellipse/arc objects that have been converted to paths) you will encounter errors using the rotation function (sorry, unfortunately this isn't an easy fix).
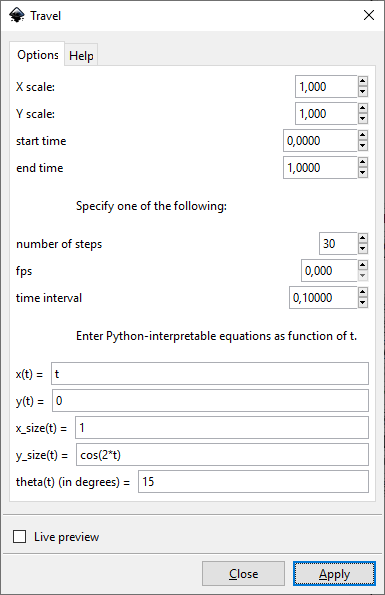
Specify the timepoints at which your template will be copied using "start time", "end time", and either "number of steps", "fps", or "time interval". For example, if "start time" is 1, "end time" is 2, and "number of steps" is 6, then 6 copies of the template will be made, corresponding to times 1, 1.2, 1.4, 1.6, 1.8, and 2.0. If "number of steps" is zero, then "fps" can be used to specify frames per second, and if "fps" is also zero, "time interval" can be used to specify the interval between time points from "start time" to "end time".
Next, write in equations for x(t) and y(t) using Python syntax (e.g. x = t, y = t ** 2 yields part of a parabola). The units of x and y are relative to the size of the rectangle, for example, if X scale = 2, then one rectangle width corresponds to 2 units along the x-axis. If Y scale = 3, then one rectangle height corresponds to 3 units along the y-axis. The point (0, 0) corresponds to the lower left corner of the rectangle.
The equations for x_size and y_size are relative to the size of the object. E.g. if x_size(t) = 1, and y_size(t) = t, then the width of the copies will be identical to the template, but their height will increase with increasing t.
Finally, specify the rotation angle (theta) as a function of time. If the rotation anchor is set, the object will be rotated around it, otherwise it will be rotated around its center.
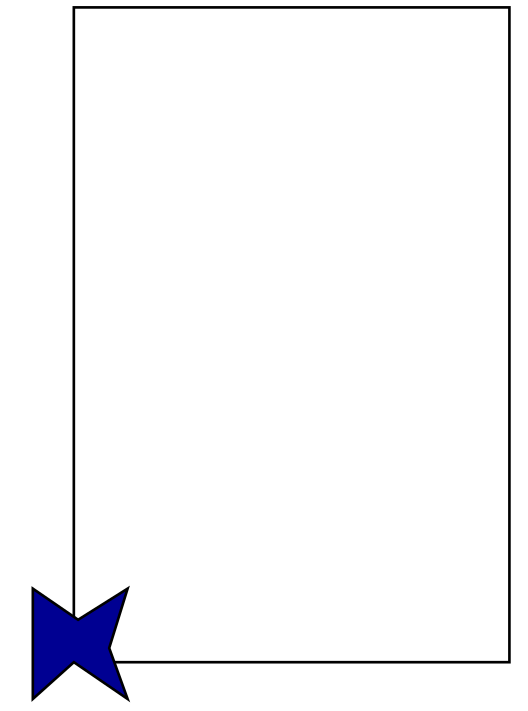
Draw a rectangle (leave as object) and some path you want to let "travel"(convert from object to path if required)
The rectangle has to be in bottom layer in relation to the travel object
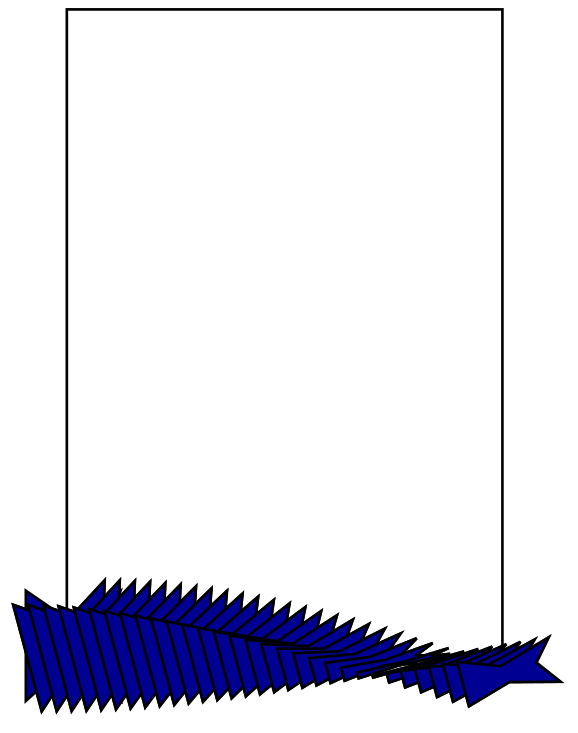
Some example travel
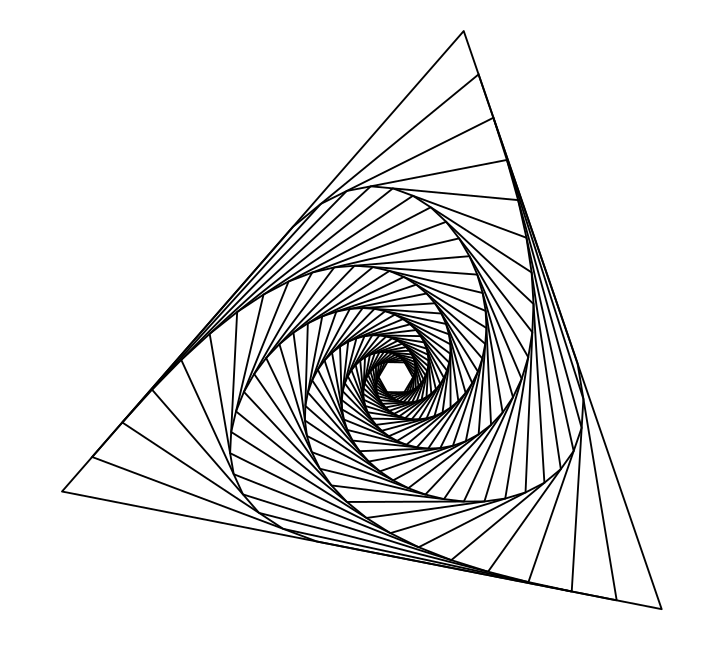
Twist
Source: https://wiki.evilmadscientist.com/Twist
Draw some path
Apply extension
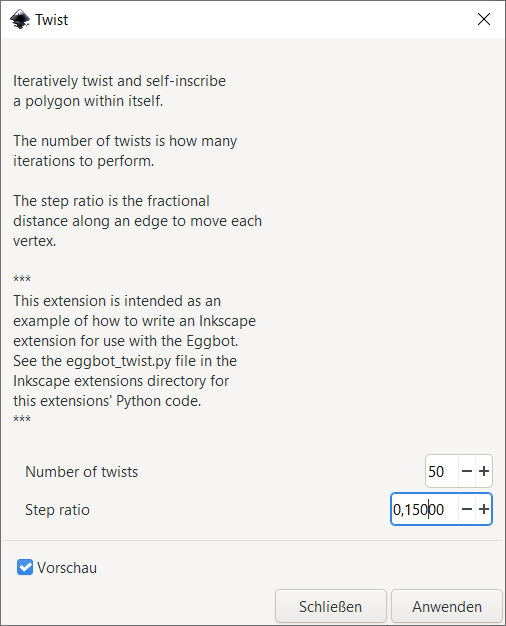
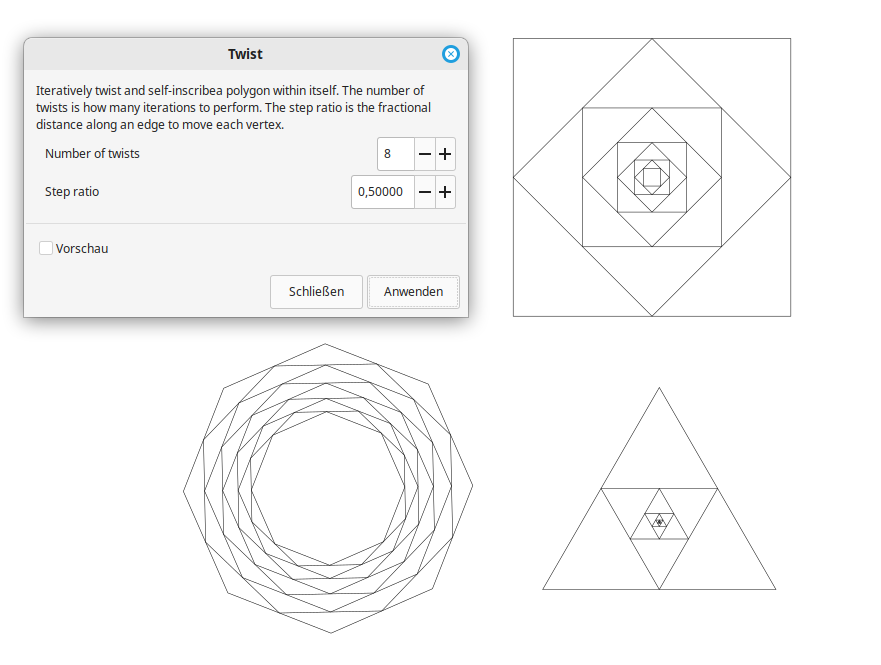
Check the result
Special factor 0.5
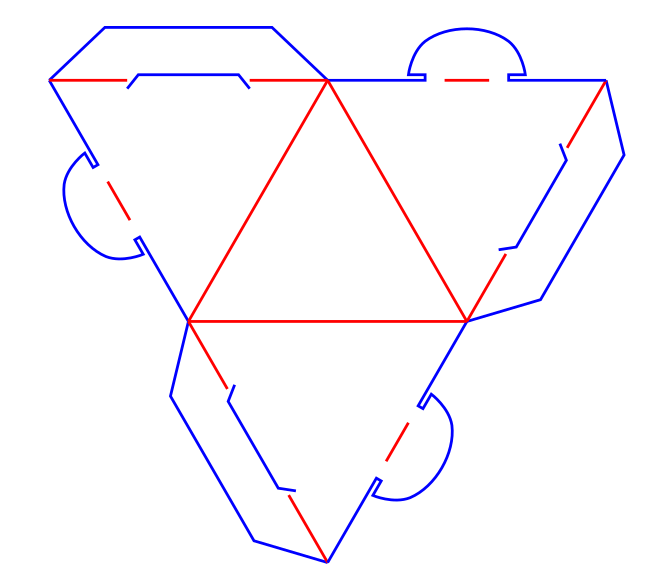
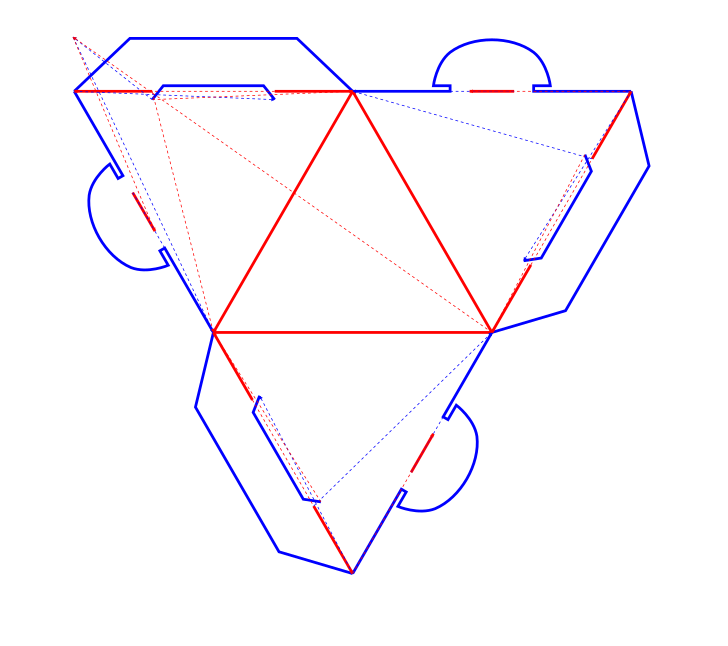
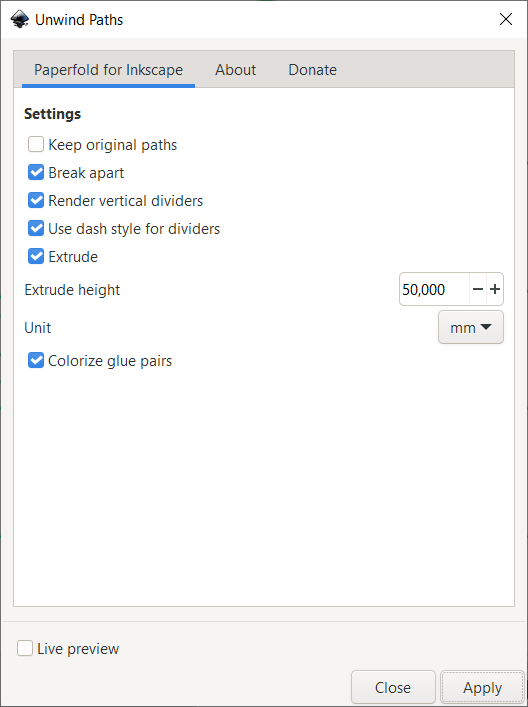
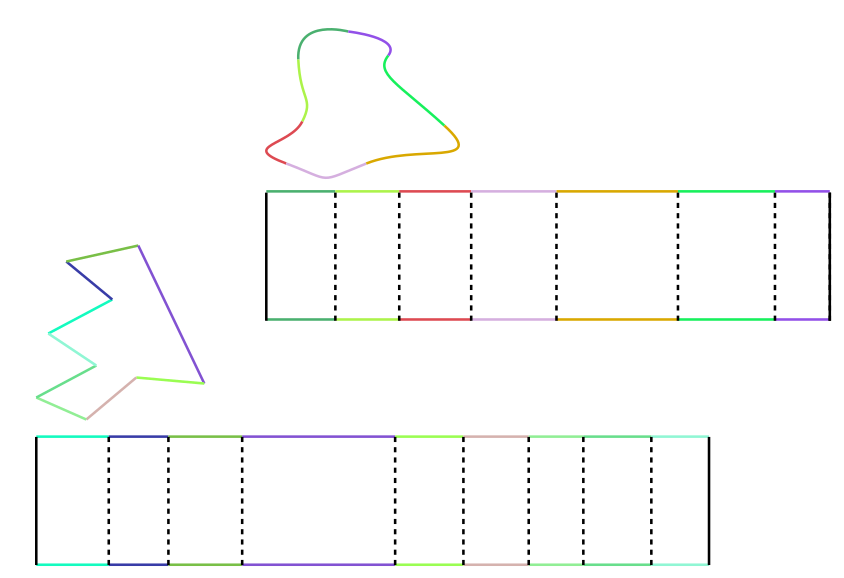
Unwind Paths
An extension to wrap off paths to receive horizontal lines or extruded bands. Can be used for paper crafting, analysis and other works. You can also just use it to colorize path segments.
Tips:
- You can use Move Path Node to change the starting nodes of paths.
- You can use Offset Paths to offset the root paths
- You can use Joinery - Laschen, Ösen, Nasen, Stege in 2D-Modelle einarbeiten to add tabs, flaps or other connectors
Note: Unwind Paths is similar to https://inkscape.org/~Shoshanaz/%E2%98%85horizontal-lines-effect-hlines, but it is more andvanced as it supports bezier curves and allows to create extruded bands, style config, etc.
See also:
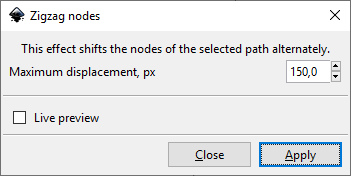
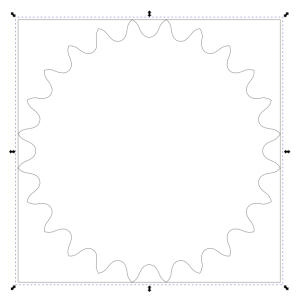
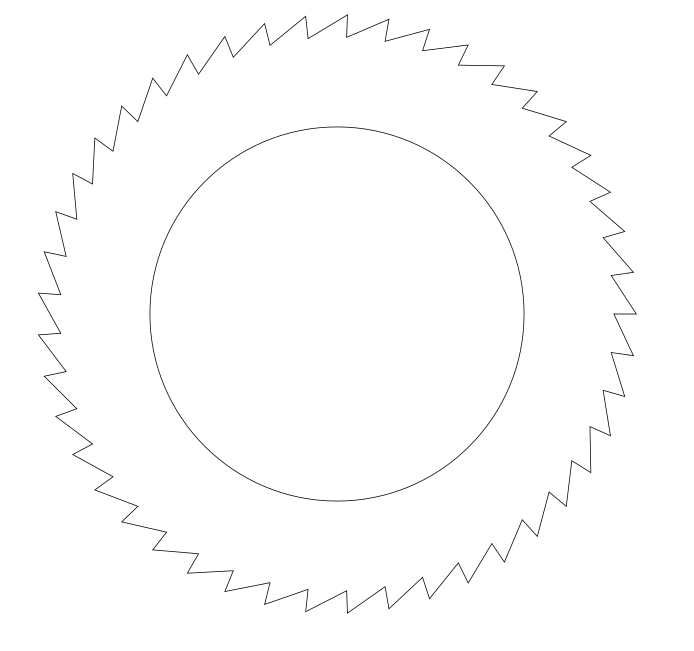
Zigzag Nodes
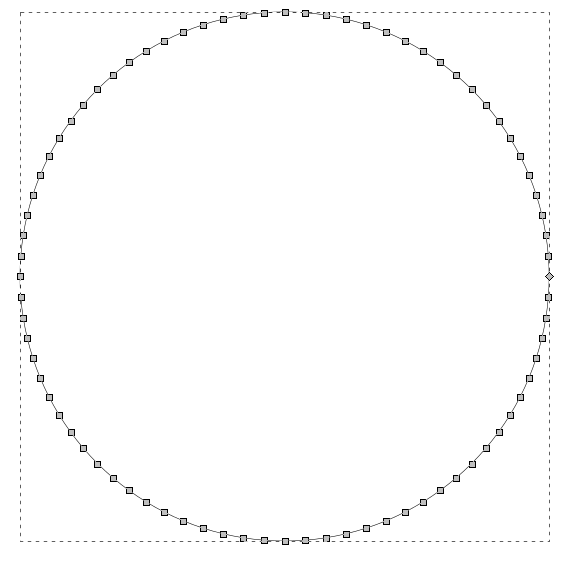
Draw a path (circle in this example)
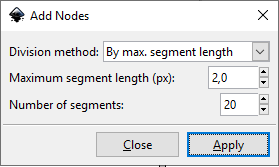
Add nodes to path to generate a good base
Modify Path → Add Nodes